Frequency Labs MeshAdv
MeshAdv Raspberry Pi Hat
Before IowaMesh took shape as a platform, I was experimenting with various types of nodes at home. In work conversations, there had been discussions about whether a Raspberry Pi, combined with its GPIO headers, could effectively run Meshtastic. On a whim one afternoon, I impulse-bought the Frequency Labs MeshAdv Raspberry Pi Hat—just to see how well it worked. What’s the worst that could happen? I ordered, assembled, and deployed it, and to my surprise, it worked flawlessly!
Since it was already mounted on the roof, retrieving it just to snap a few pictures for a blog post wasn’t practical. However, as luck would have it, the OS ran into some issues and needed a full reset. That gave me the perfect chance to revisit the setup process—an important lesson in troubleshooting.
Parts List:
Female to N Male Lightning Arrestor
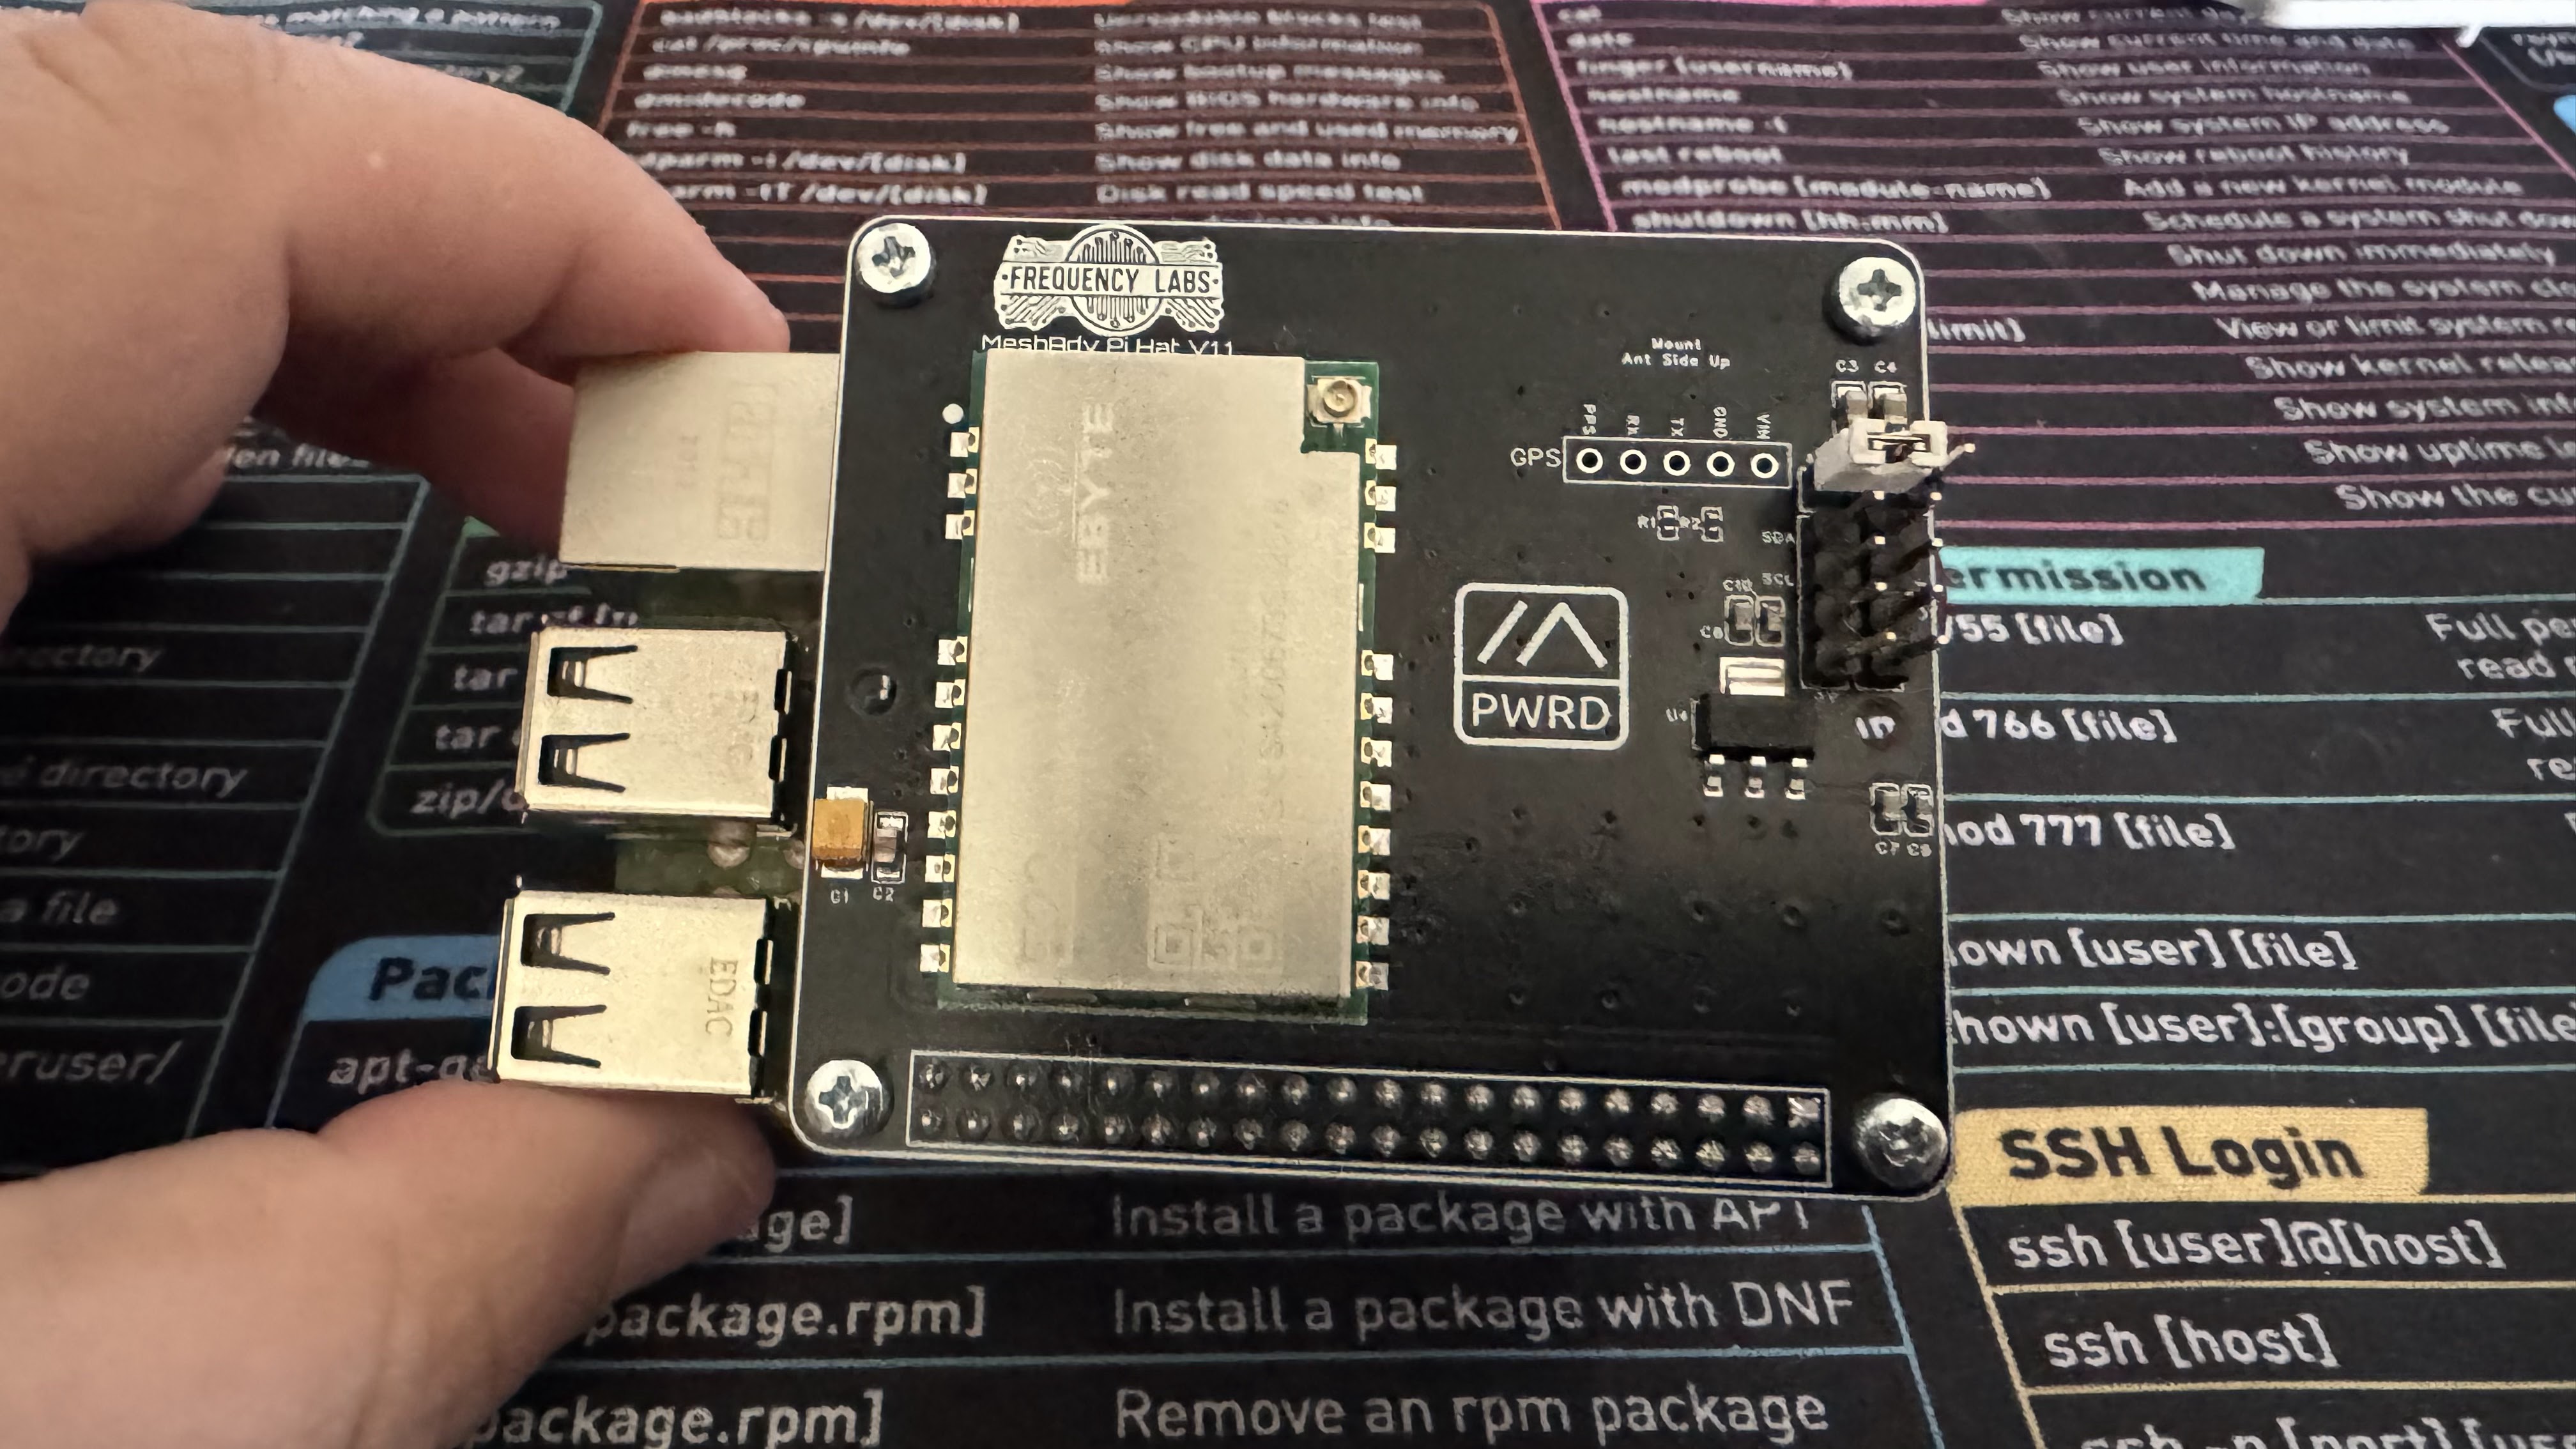
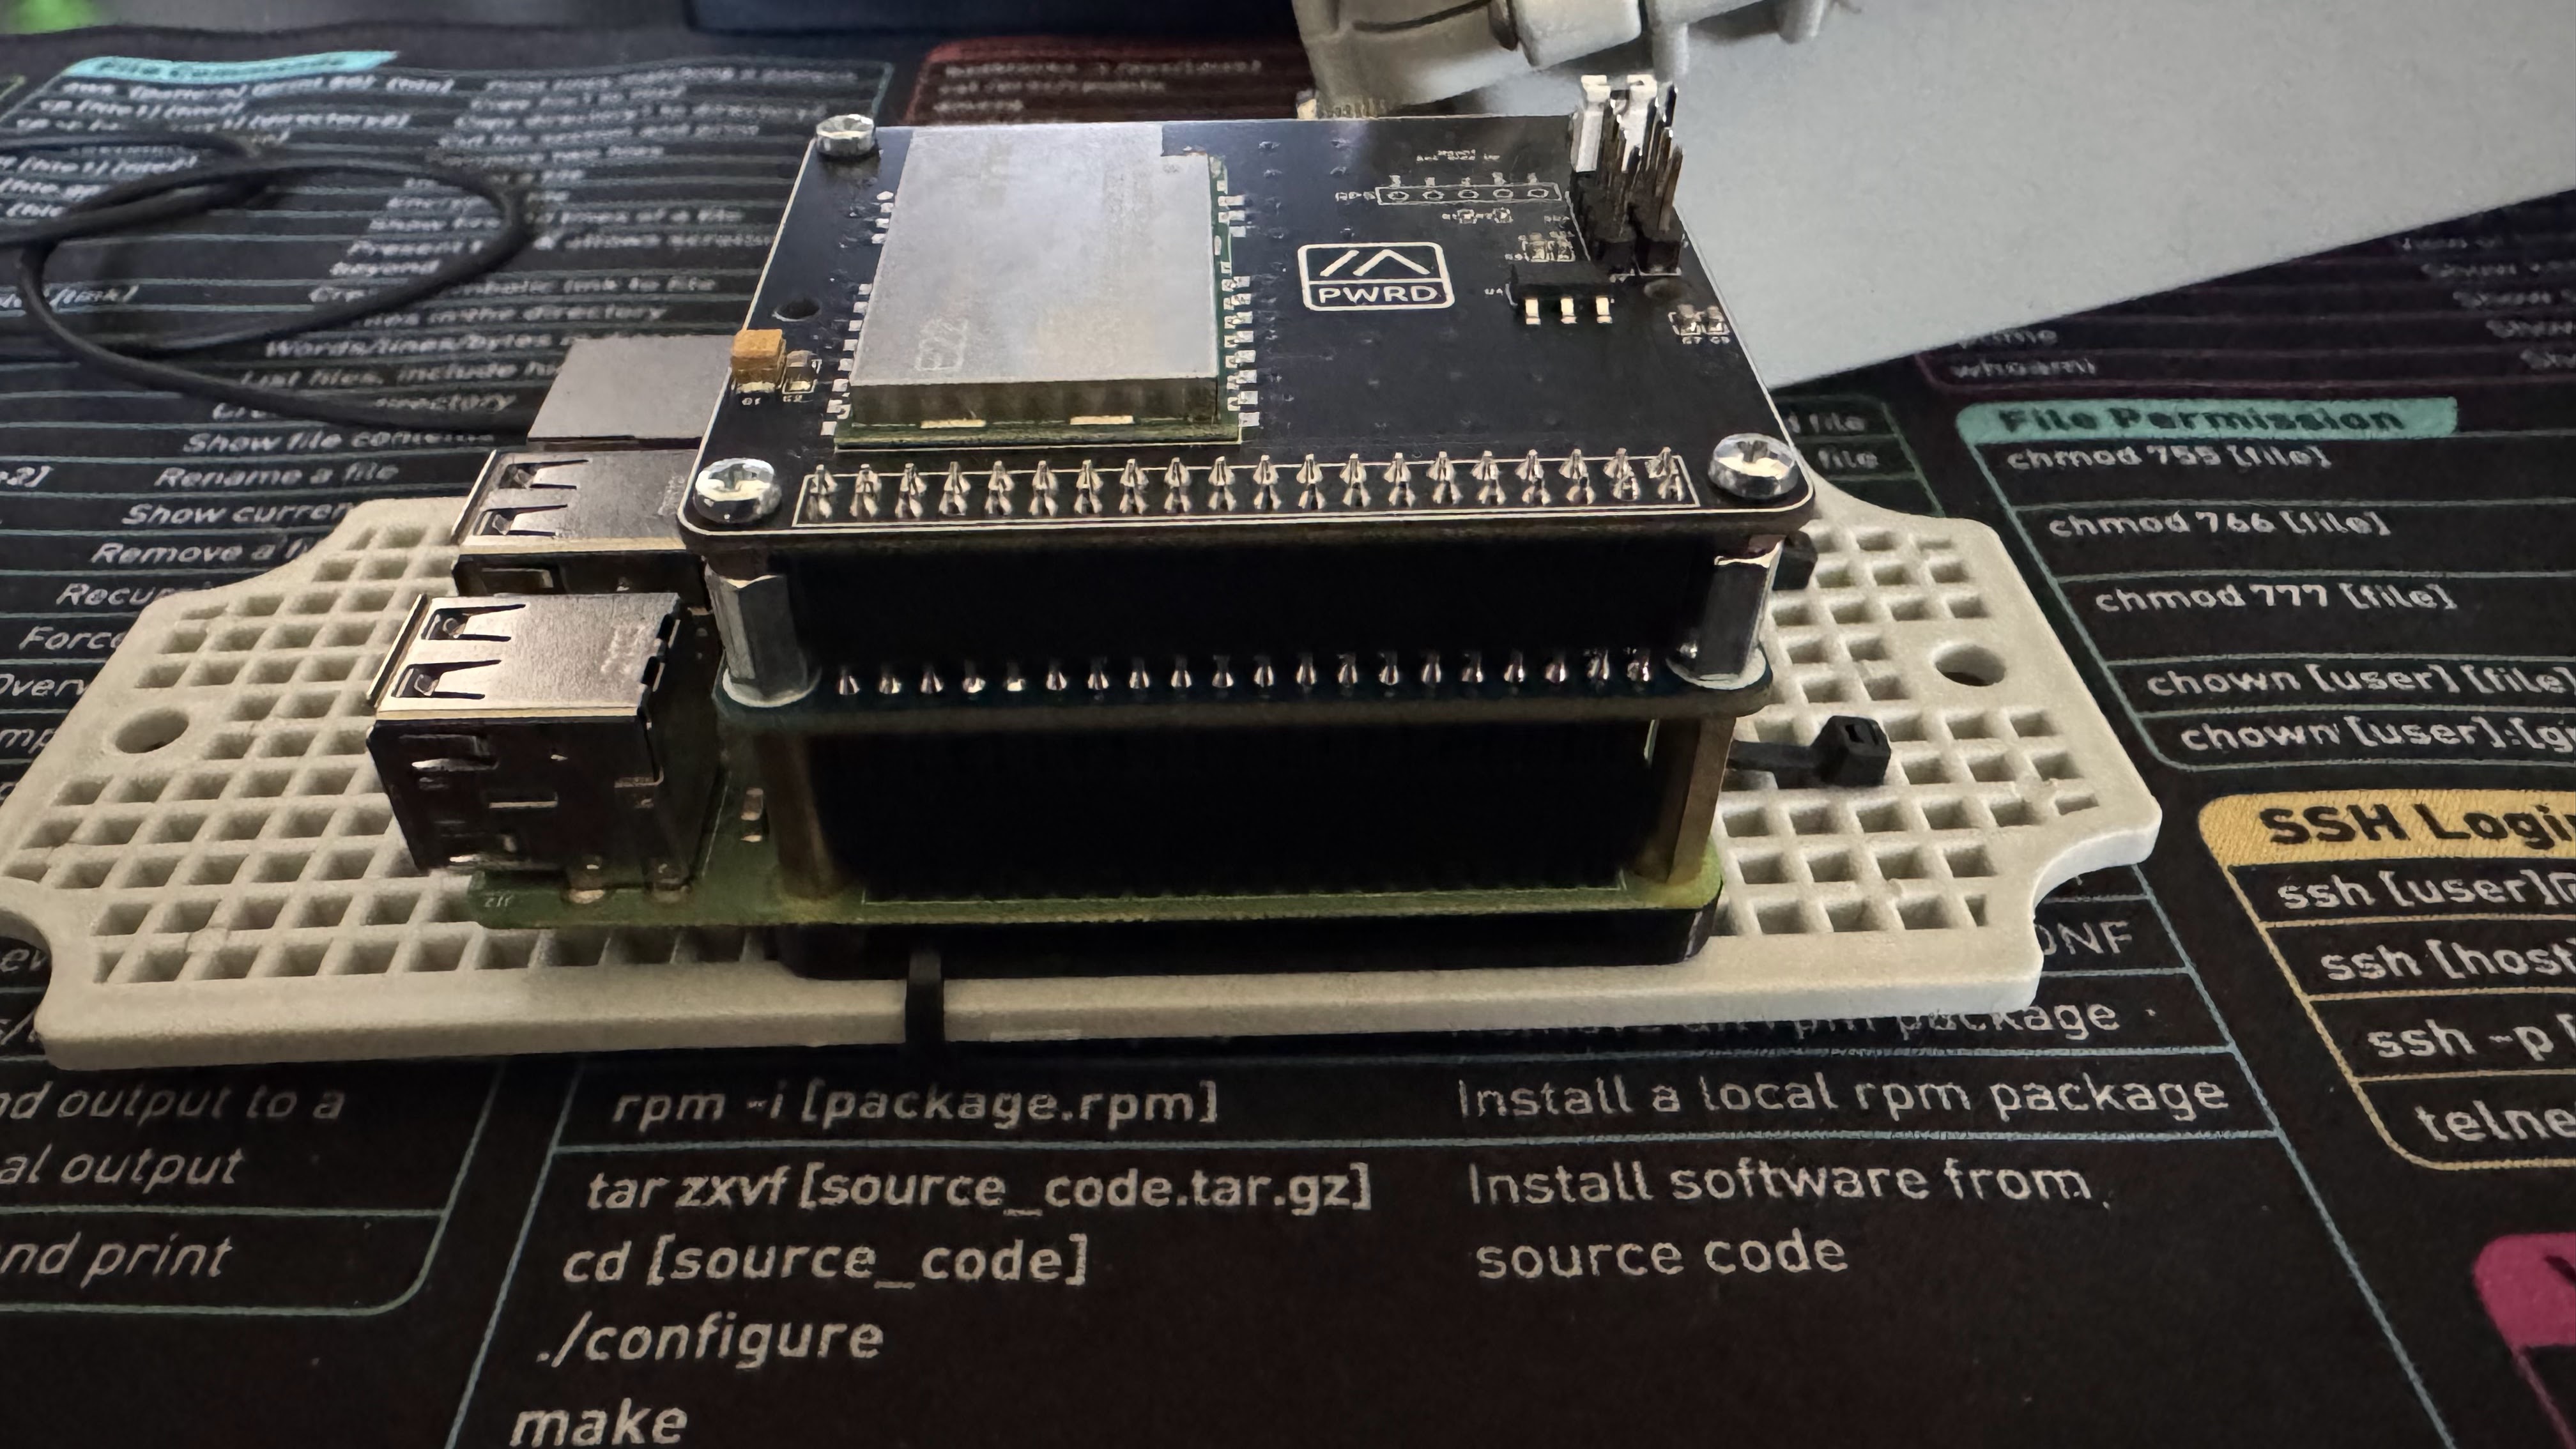
The Frequency Labs MeshAdv Pi Hat is well-built and easy to assemble. Featuring the EBYTE E22 LoRa chip with 1 watt of power, it offers robust performance and supports additional sensor integration. There’s a lot to appreciate—I was beyond impressed with its arrival!
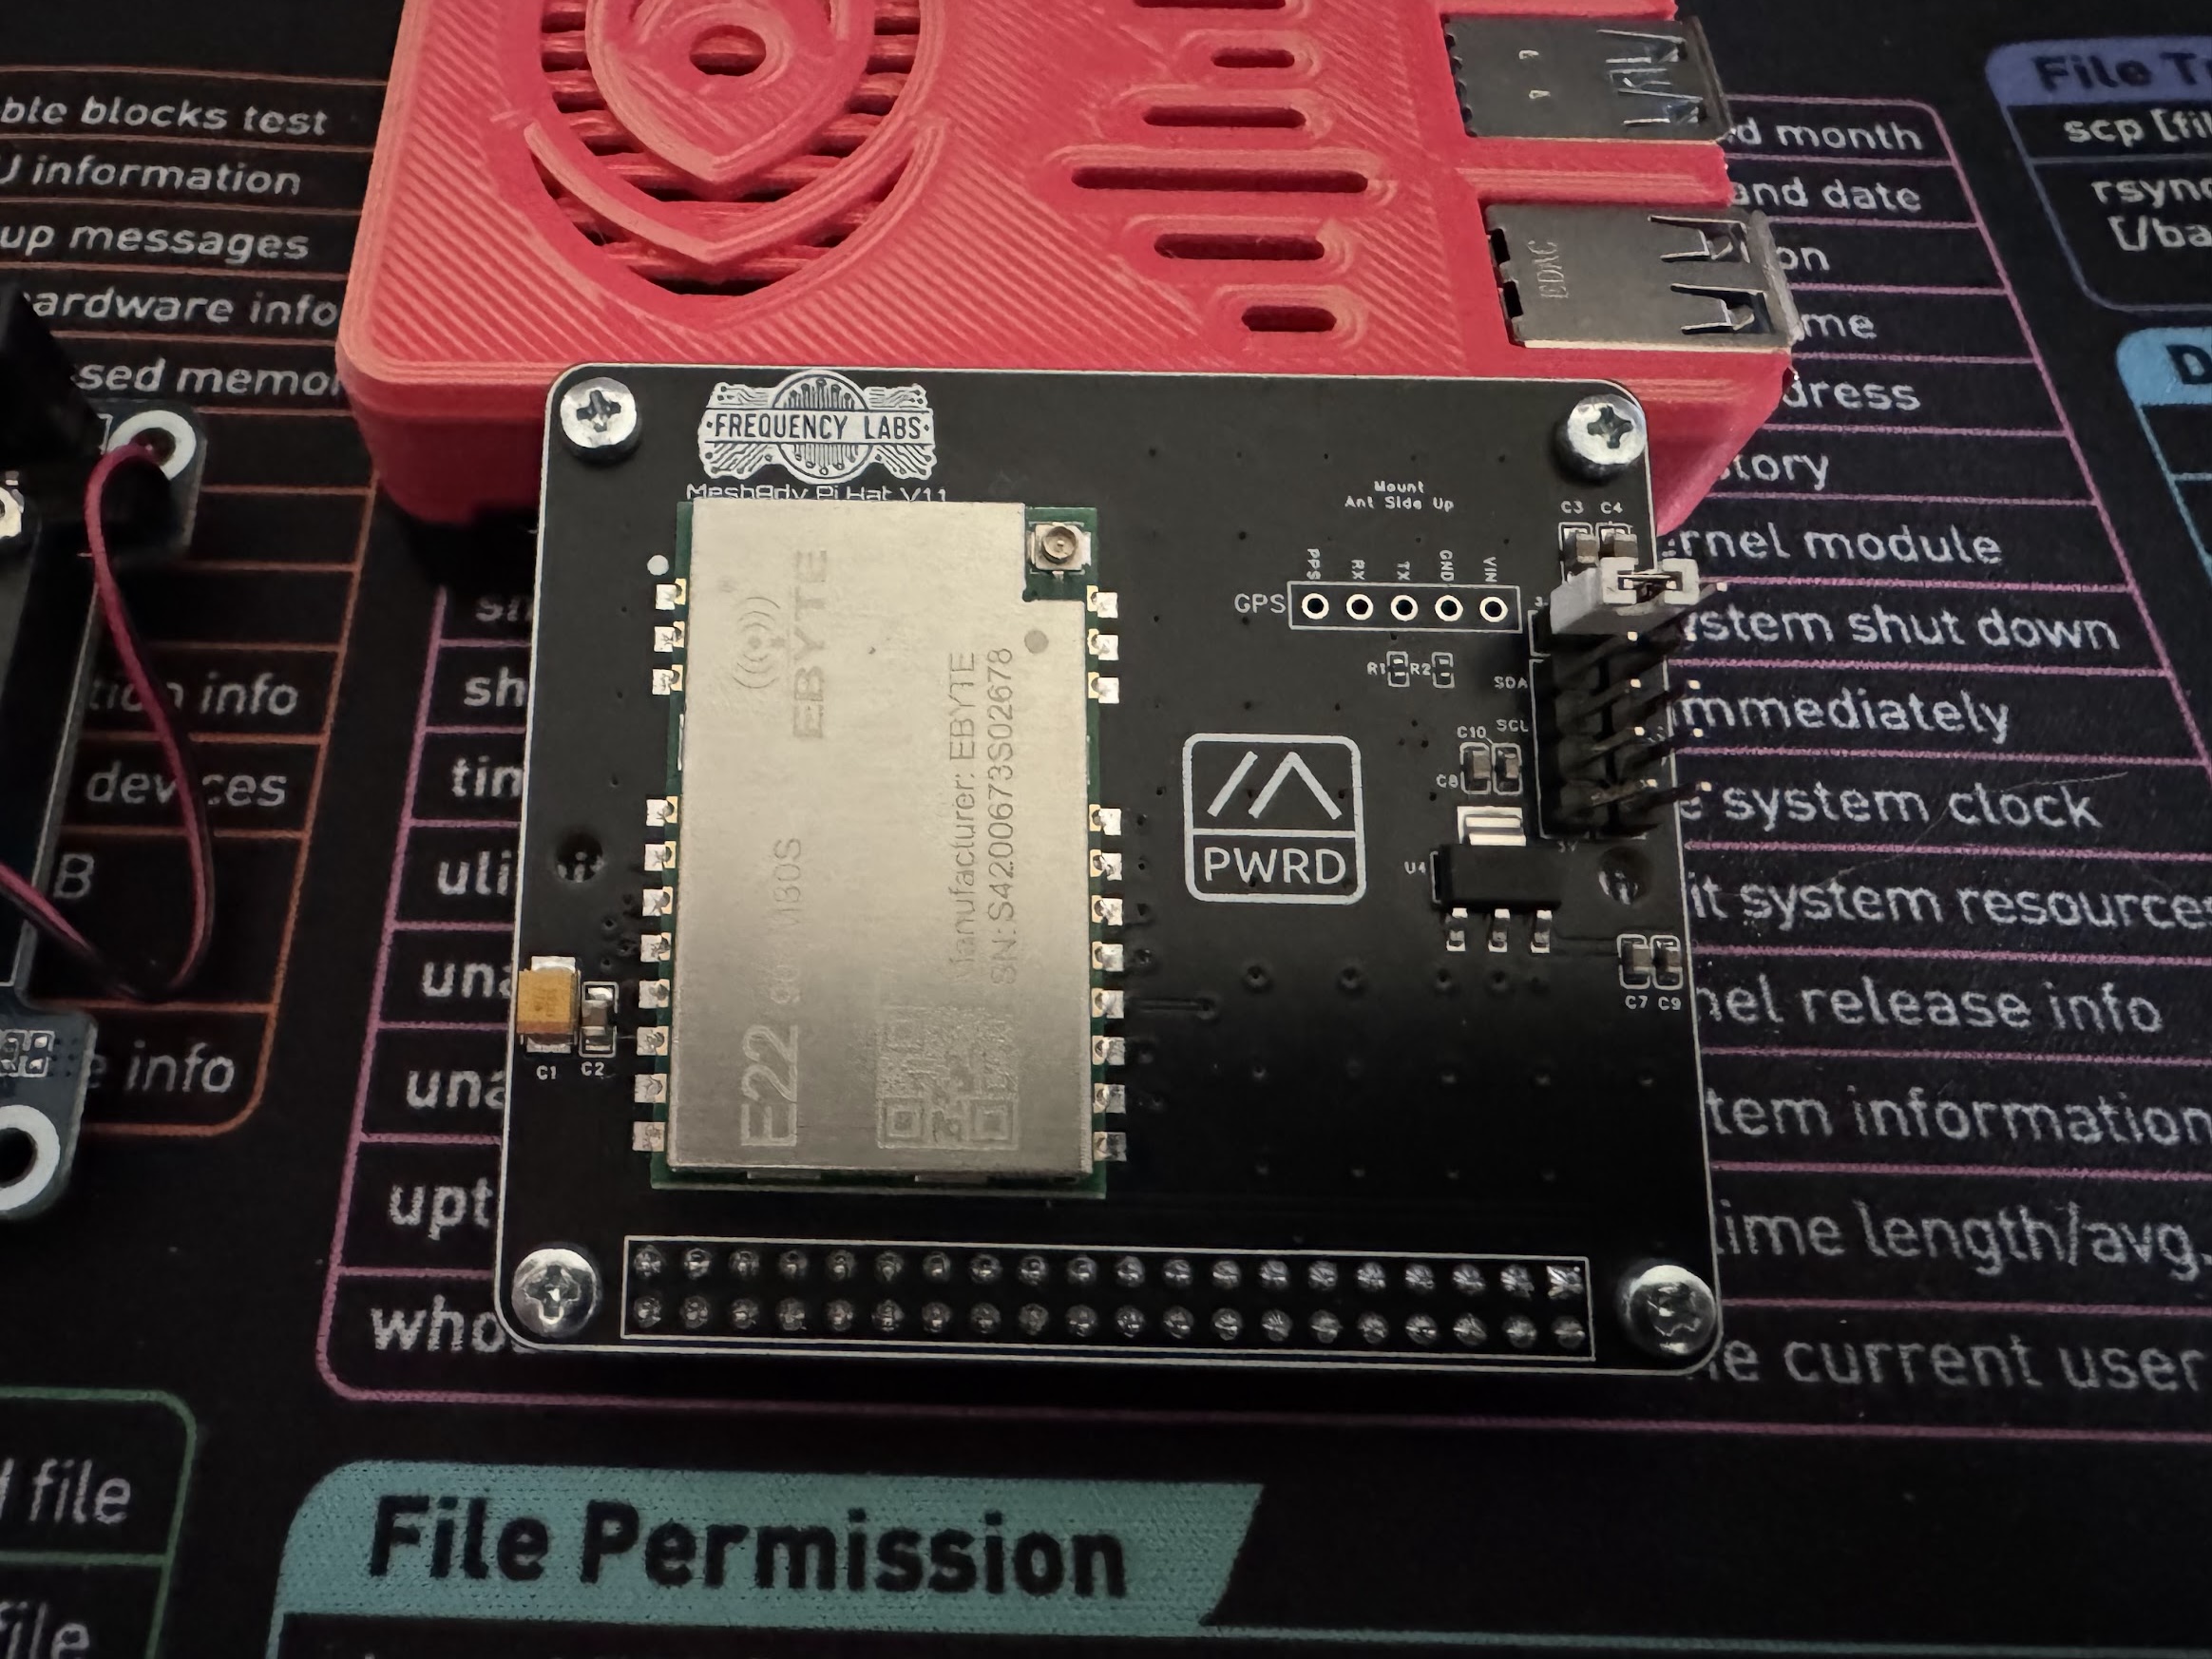
For this build, I chose to use a Raspberry Pi 3B+. Since I had one on hand and considered this a noble experiment, I preferred to test with it rather than risk potential issues with a Raspberry Pi 4 or 5. According to the documentation, most Raspberry Pi models should work. While I mentioned the Raspberry Pi 4 in my list above, I wanted to specifically call this out.
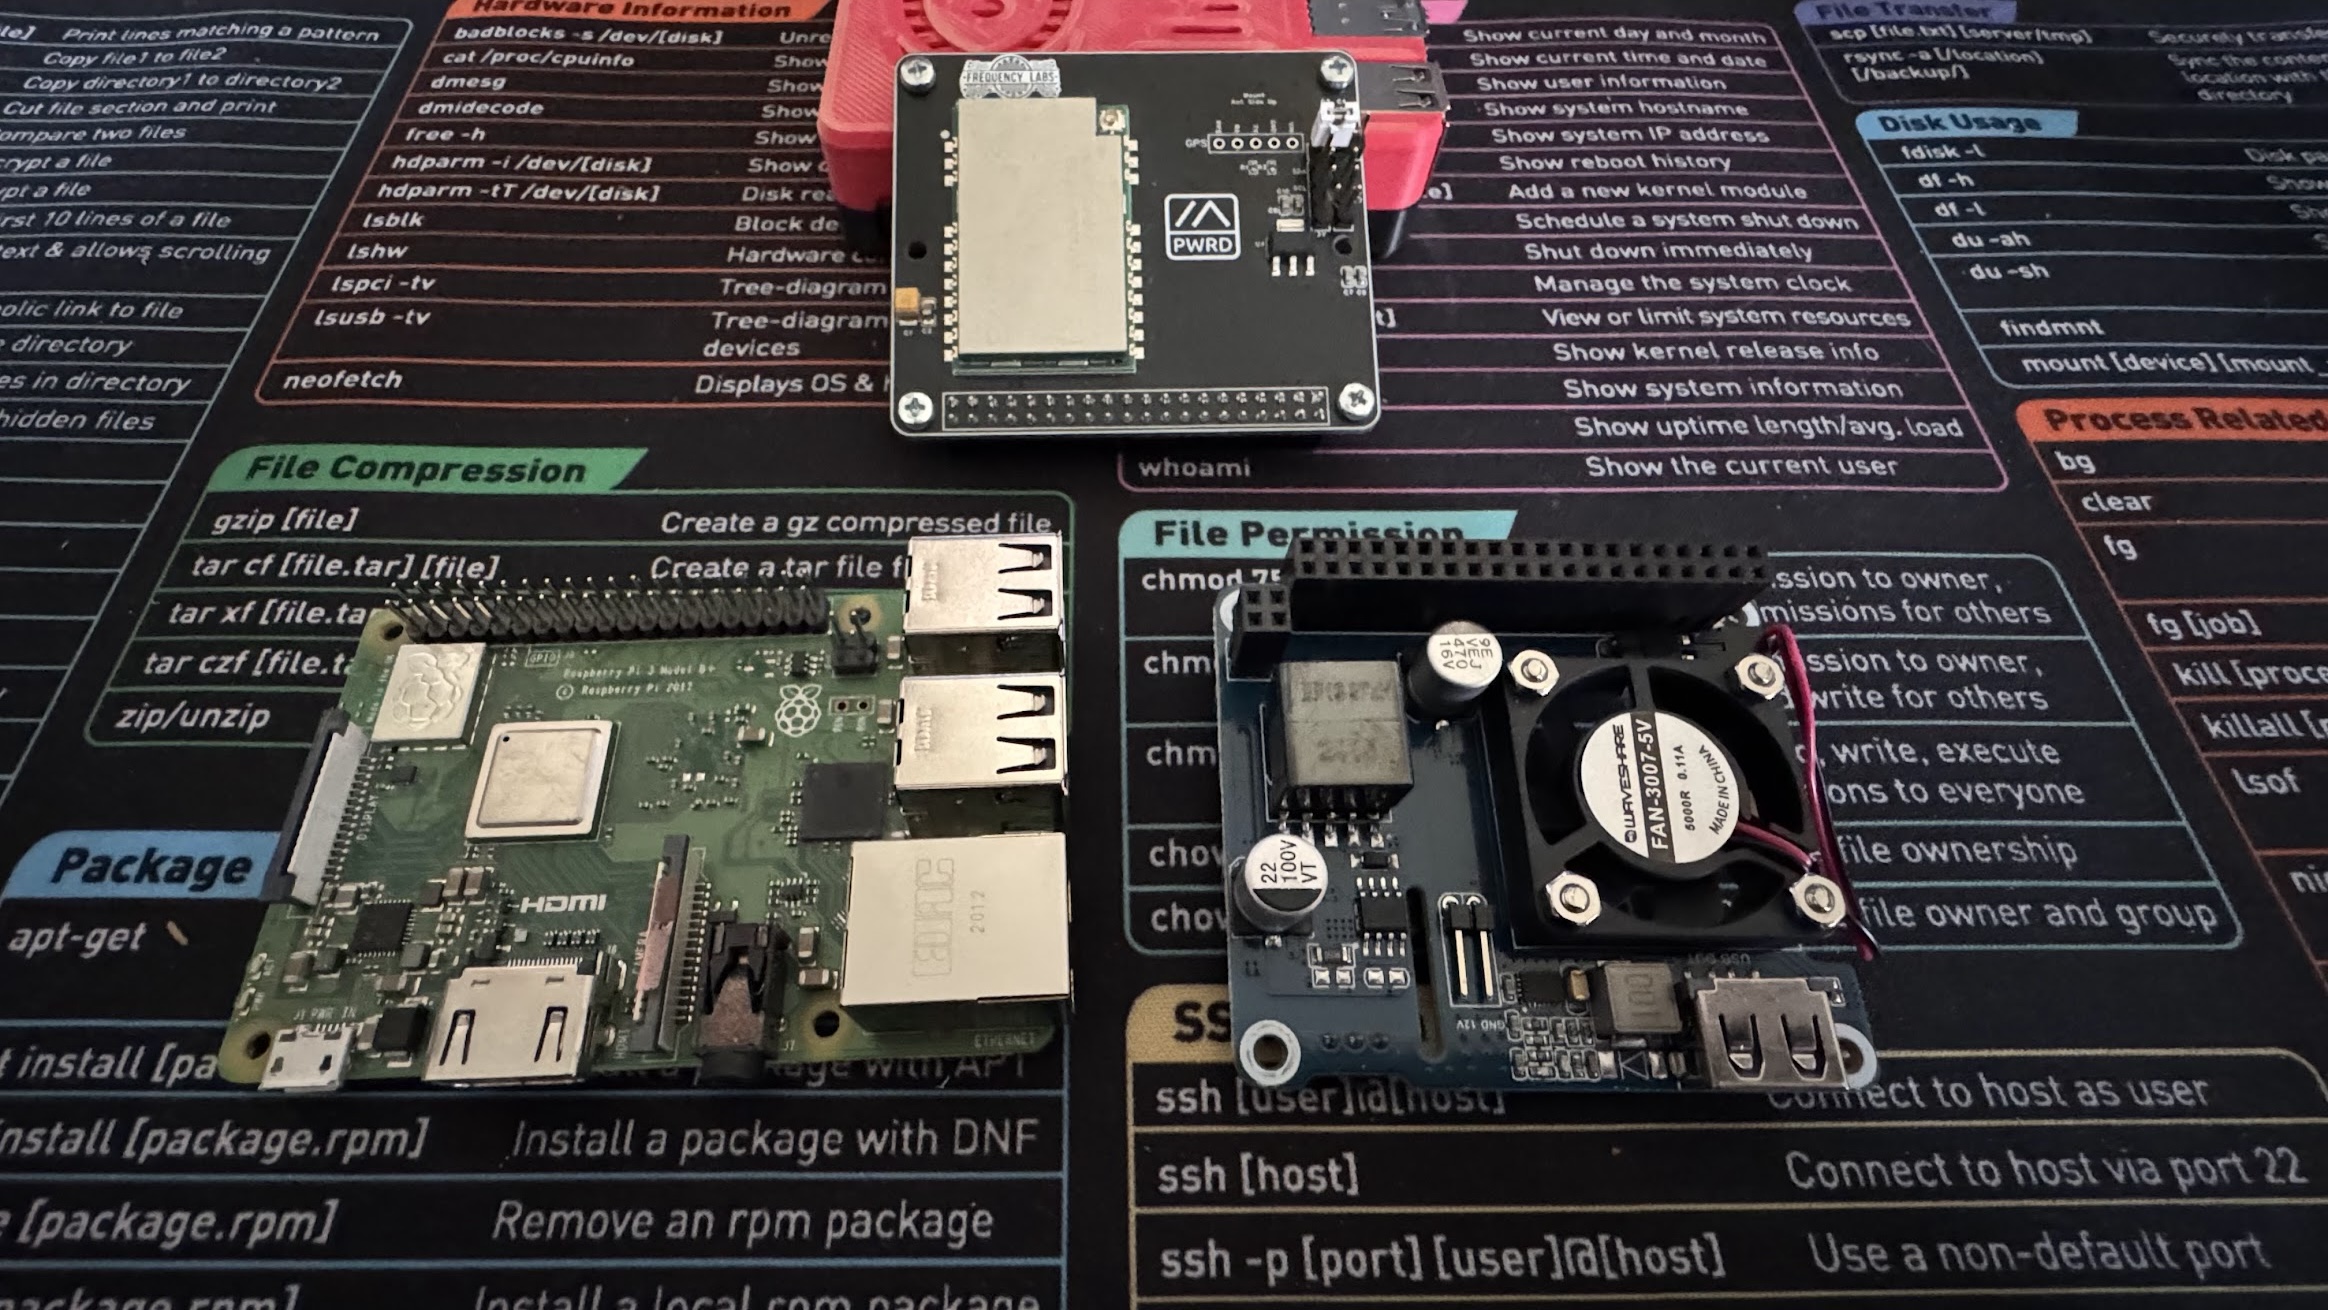
I wanted an all-in-one build, so I chose the WaveShare PoE Hat with pass-through pins, allowing me to stack components for easy deployment in a case and out in the field. Another key advantage is remote SSH access, making it possible to update the Raspberry Pi’s configuration and software without having to climb repeatedly. While I have it at home now, I plan to mount it 150 feet in the air—so minimizing physical access requirements is a huge win!
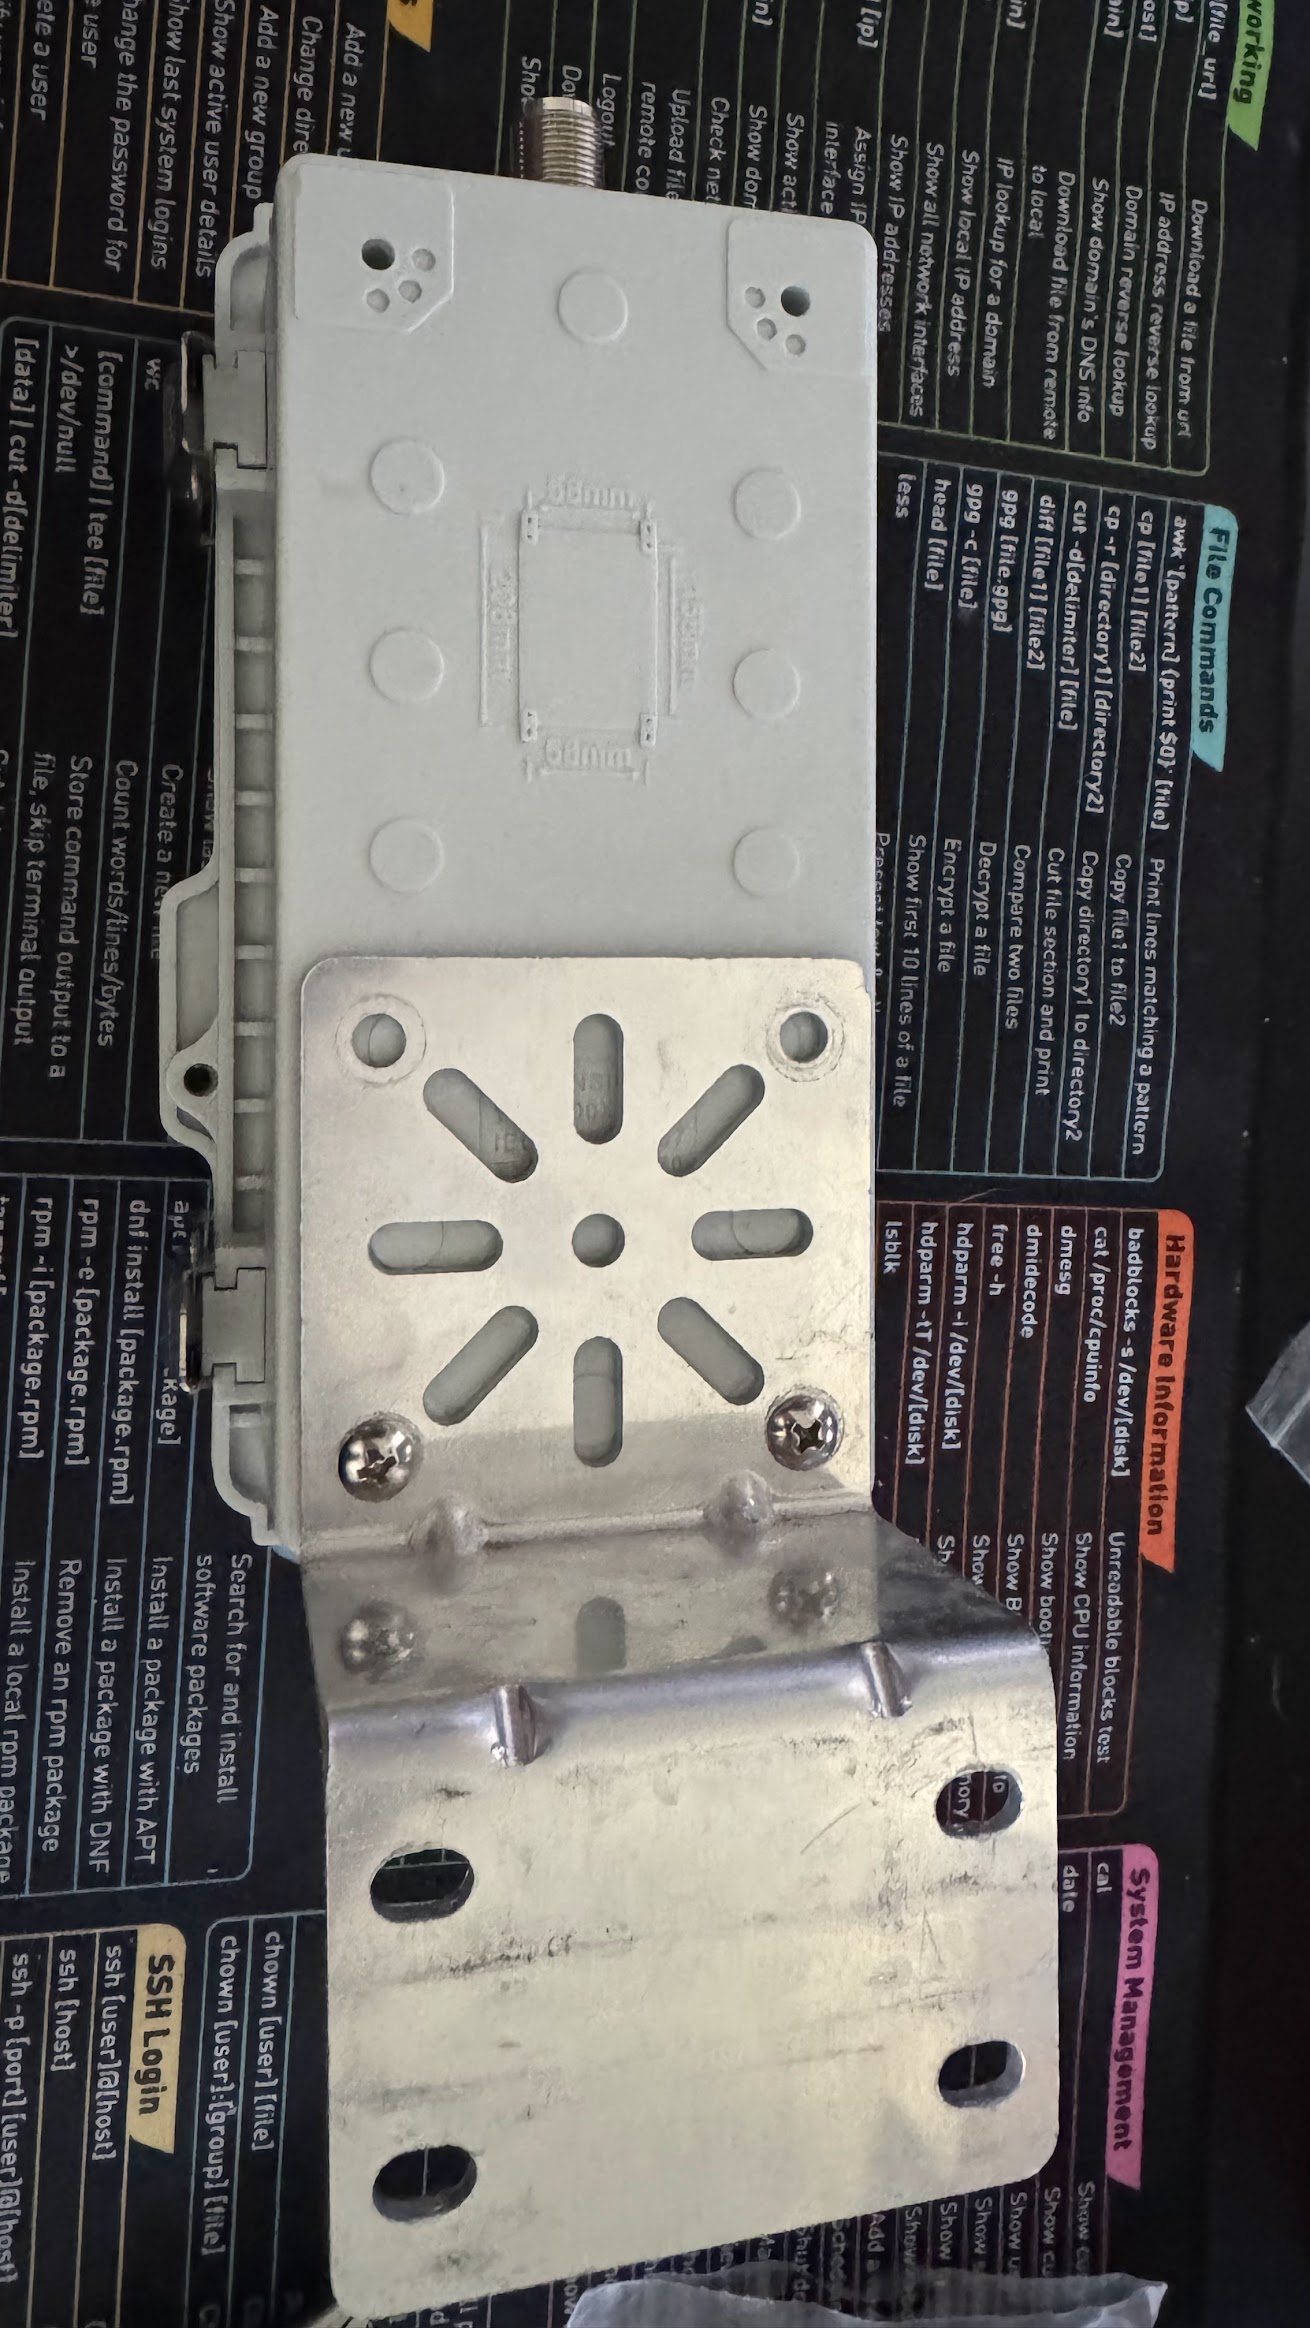
I used the taller mounts from the PoE Hat kit and put the screw side up. I had some other screw-on ends from another kit laying around so I was able to put the MeshAdv hat on top of the PoE hat, on top of the Raspberry Pi!
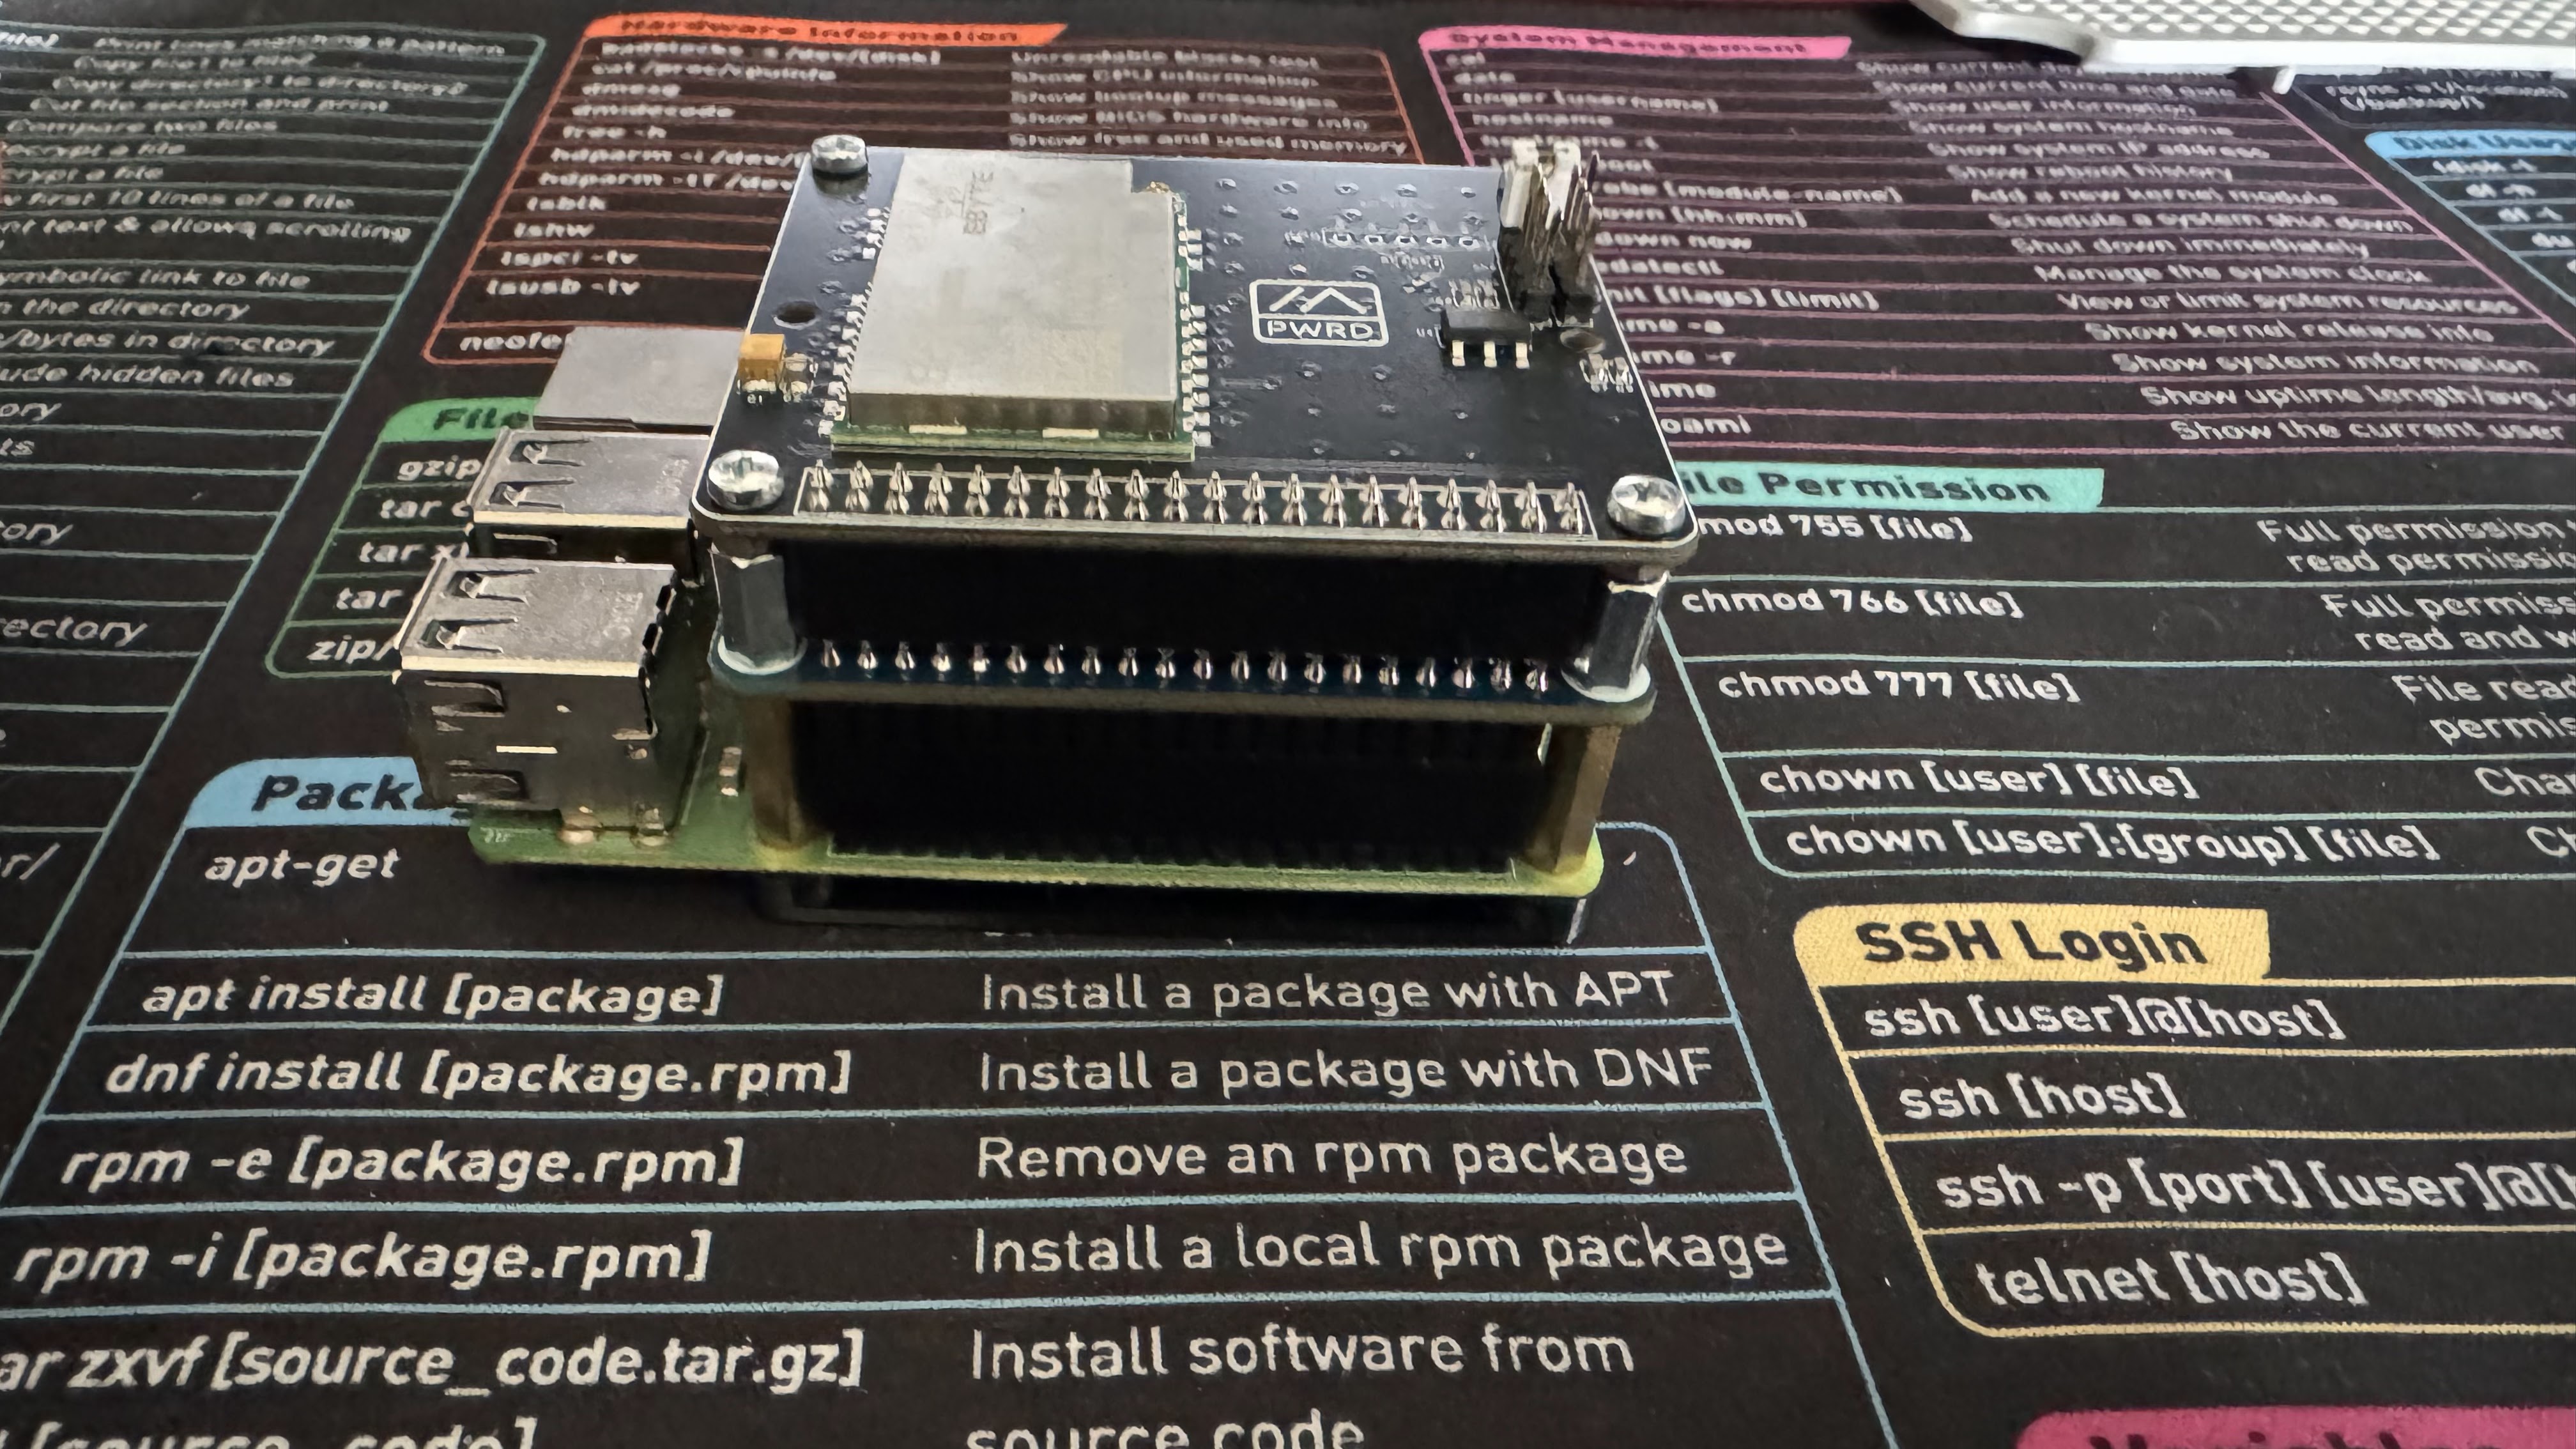
Once stacked (and while having the plate outside of the case) I took the 3d printed riser board we built for the Pi and zip tied it to the plate. You’ll see that more in the final build pictures
(Pi Plate for Build)[https://www.printables.com/model/1265288-pi3-mounting-plate]
Since the plate was out of the case I drilled the hole in the top of the case for the bulkhead connector and the bottom for the ethernet pass through interface. This was done using a standard step bit that can be picked up at most hardware stores.
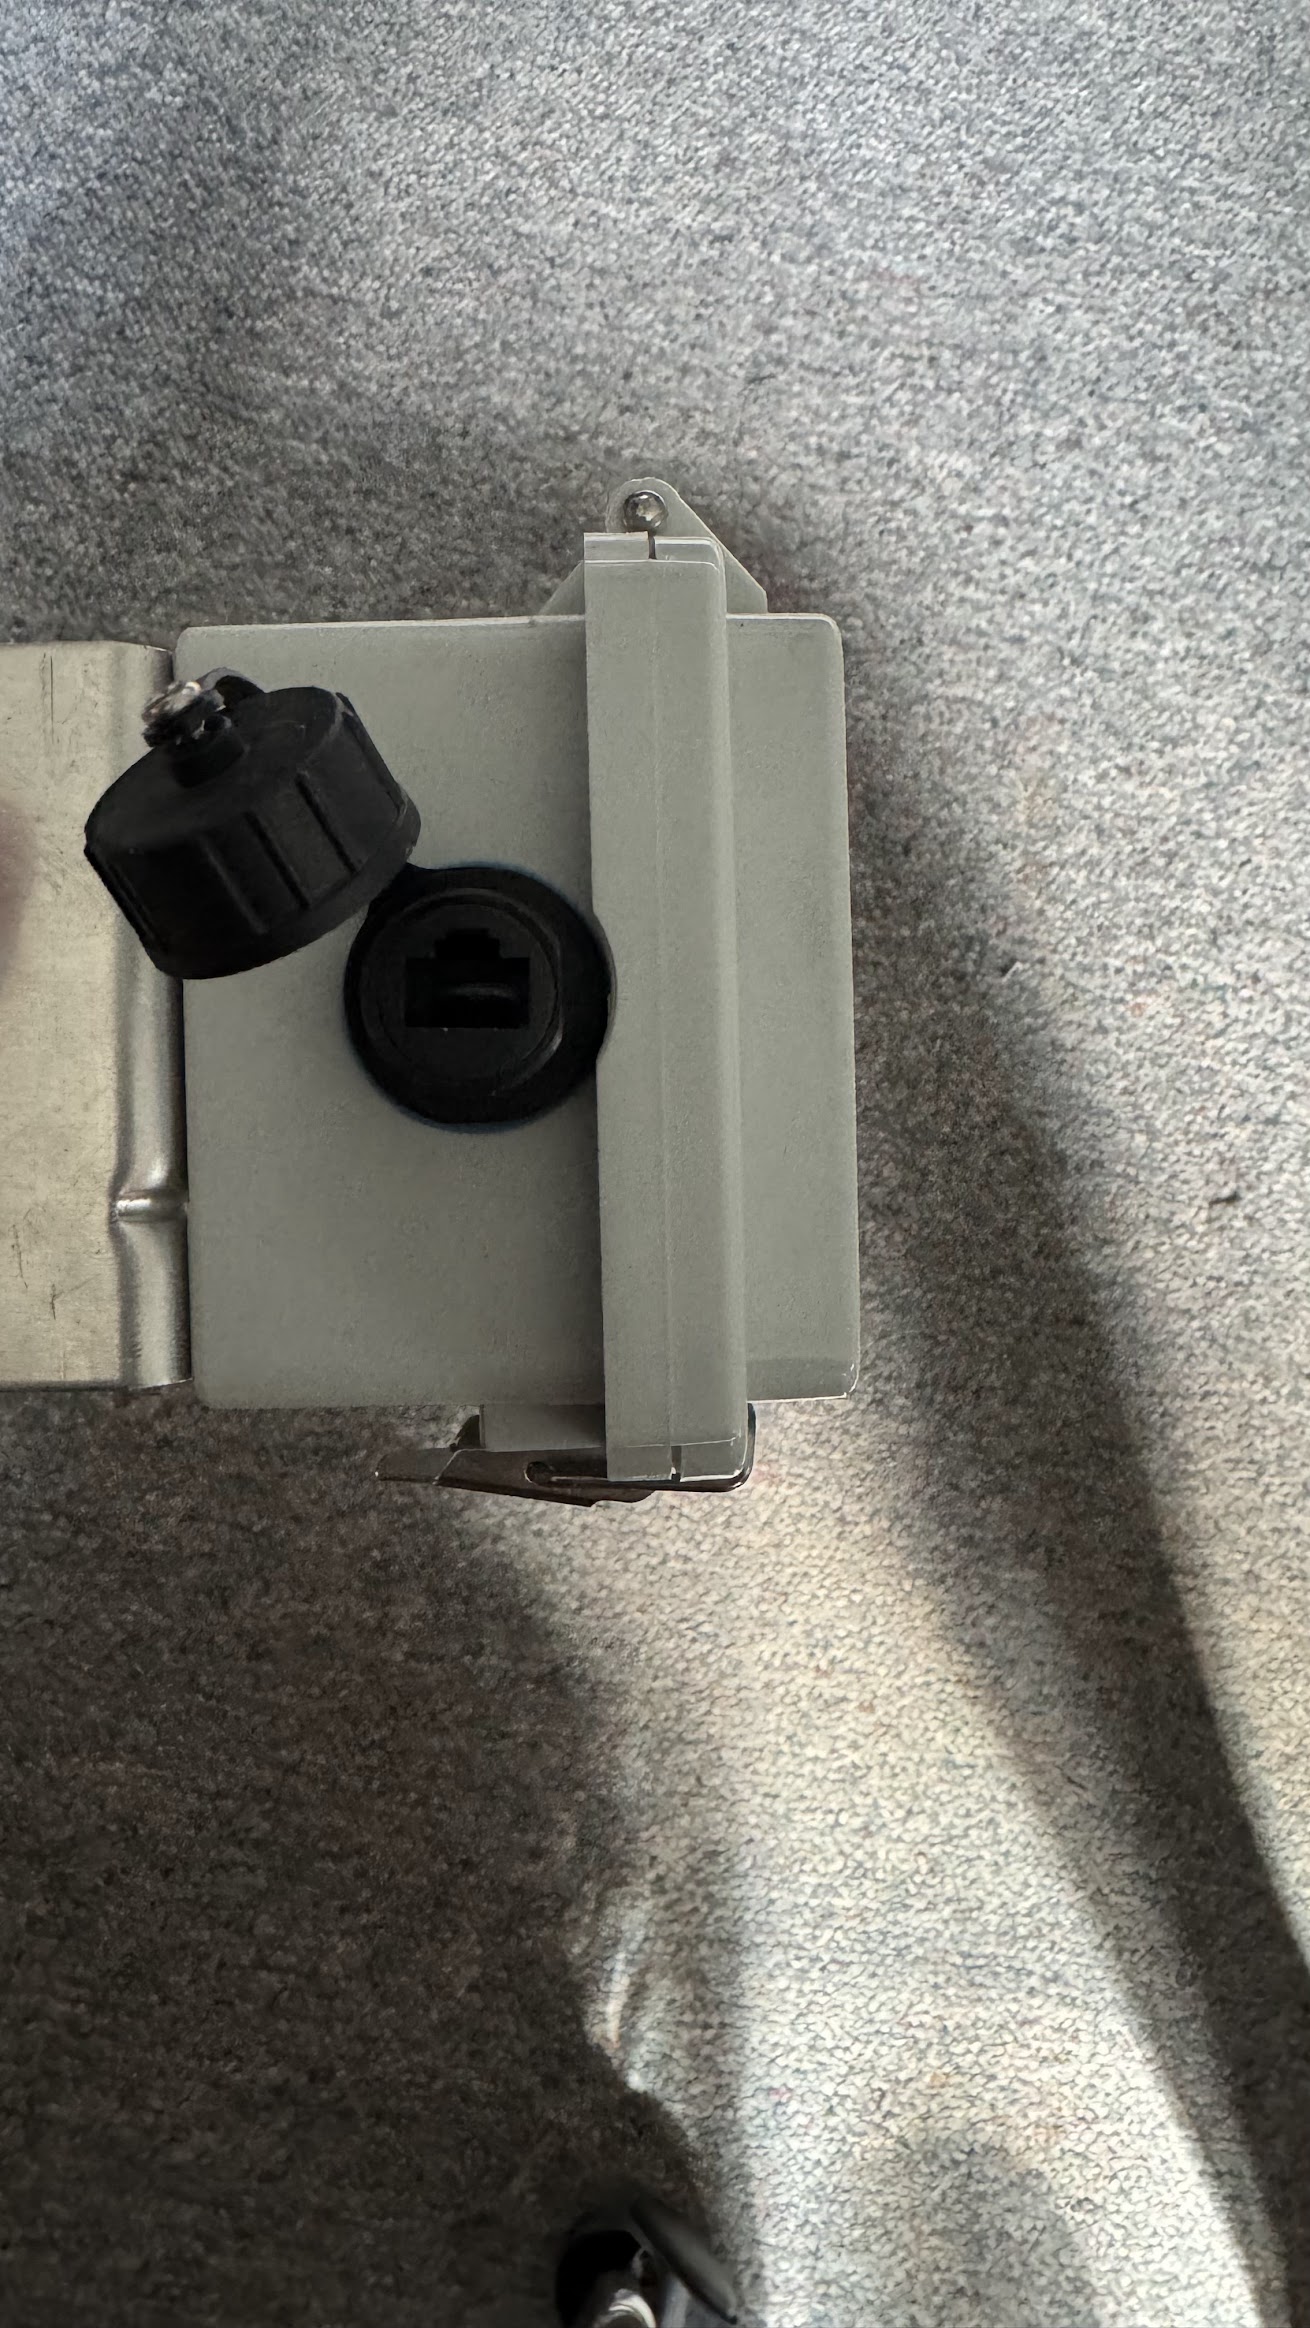
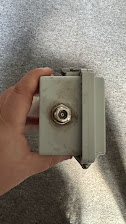
The case is a bit tight so I would suggest waiting to put the bulkhead and ethernet.
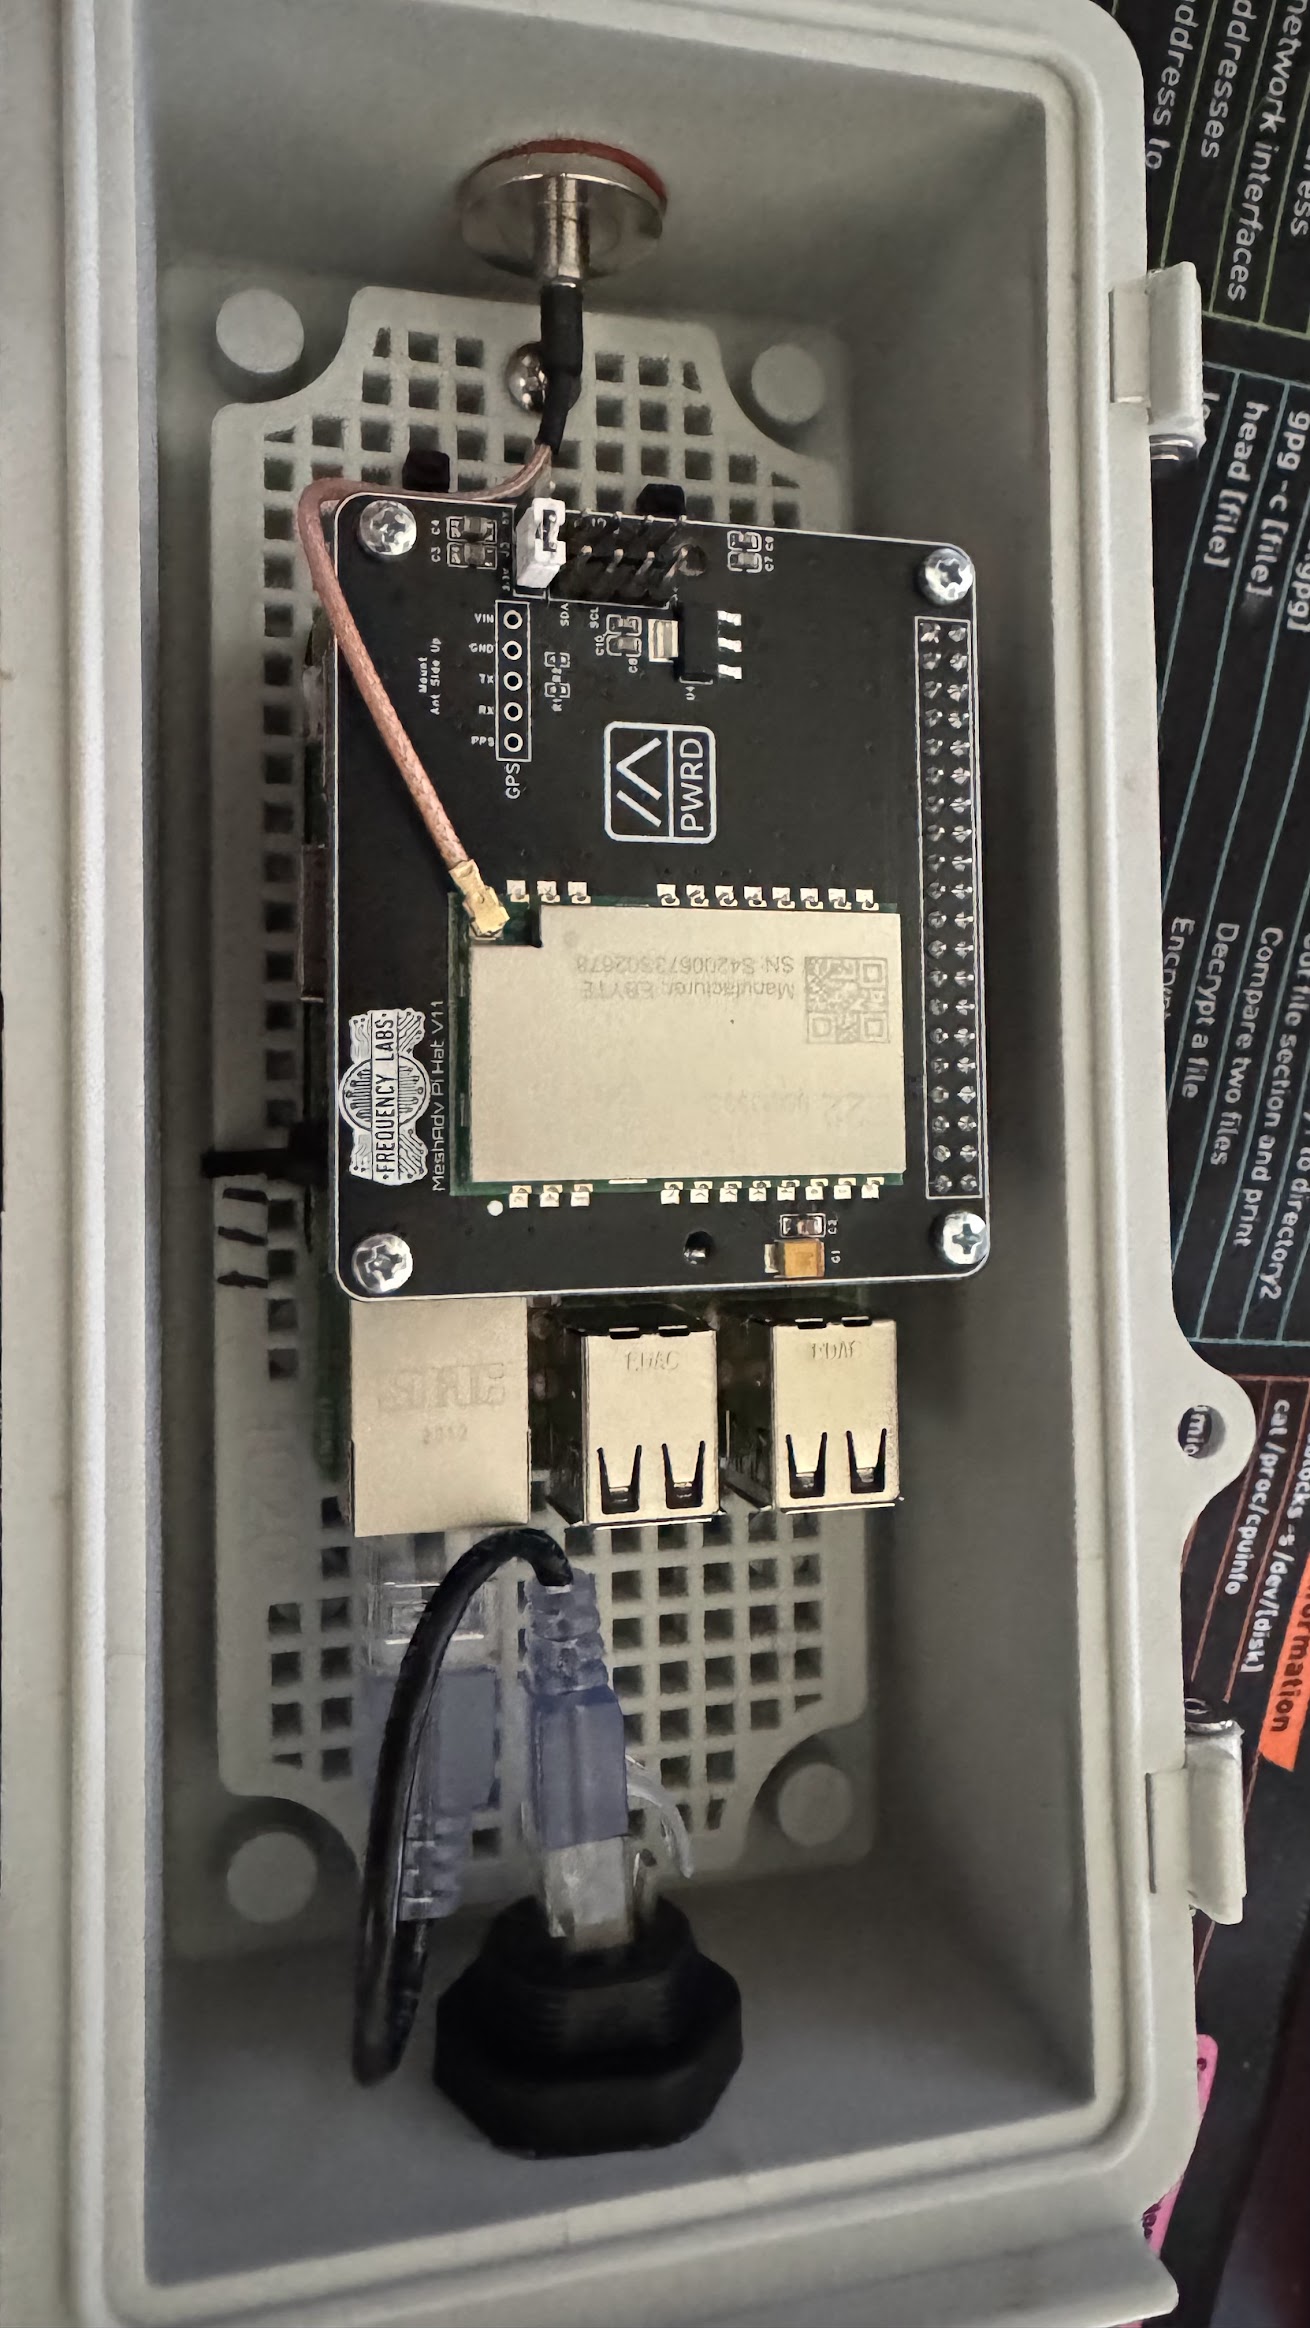
Next assemble the raspberry pi to the riser plate that was 3d printed and then the riser to the actual box plate.

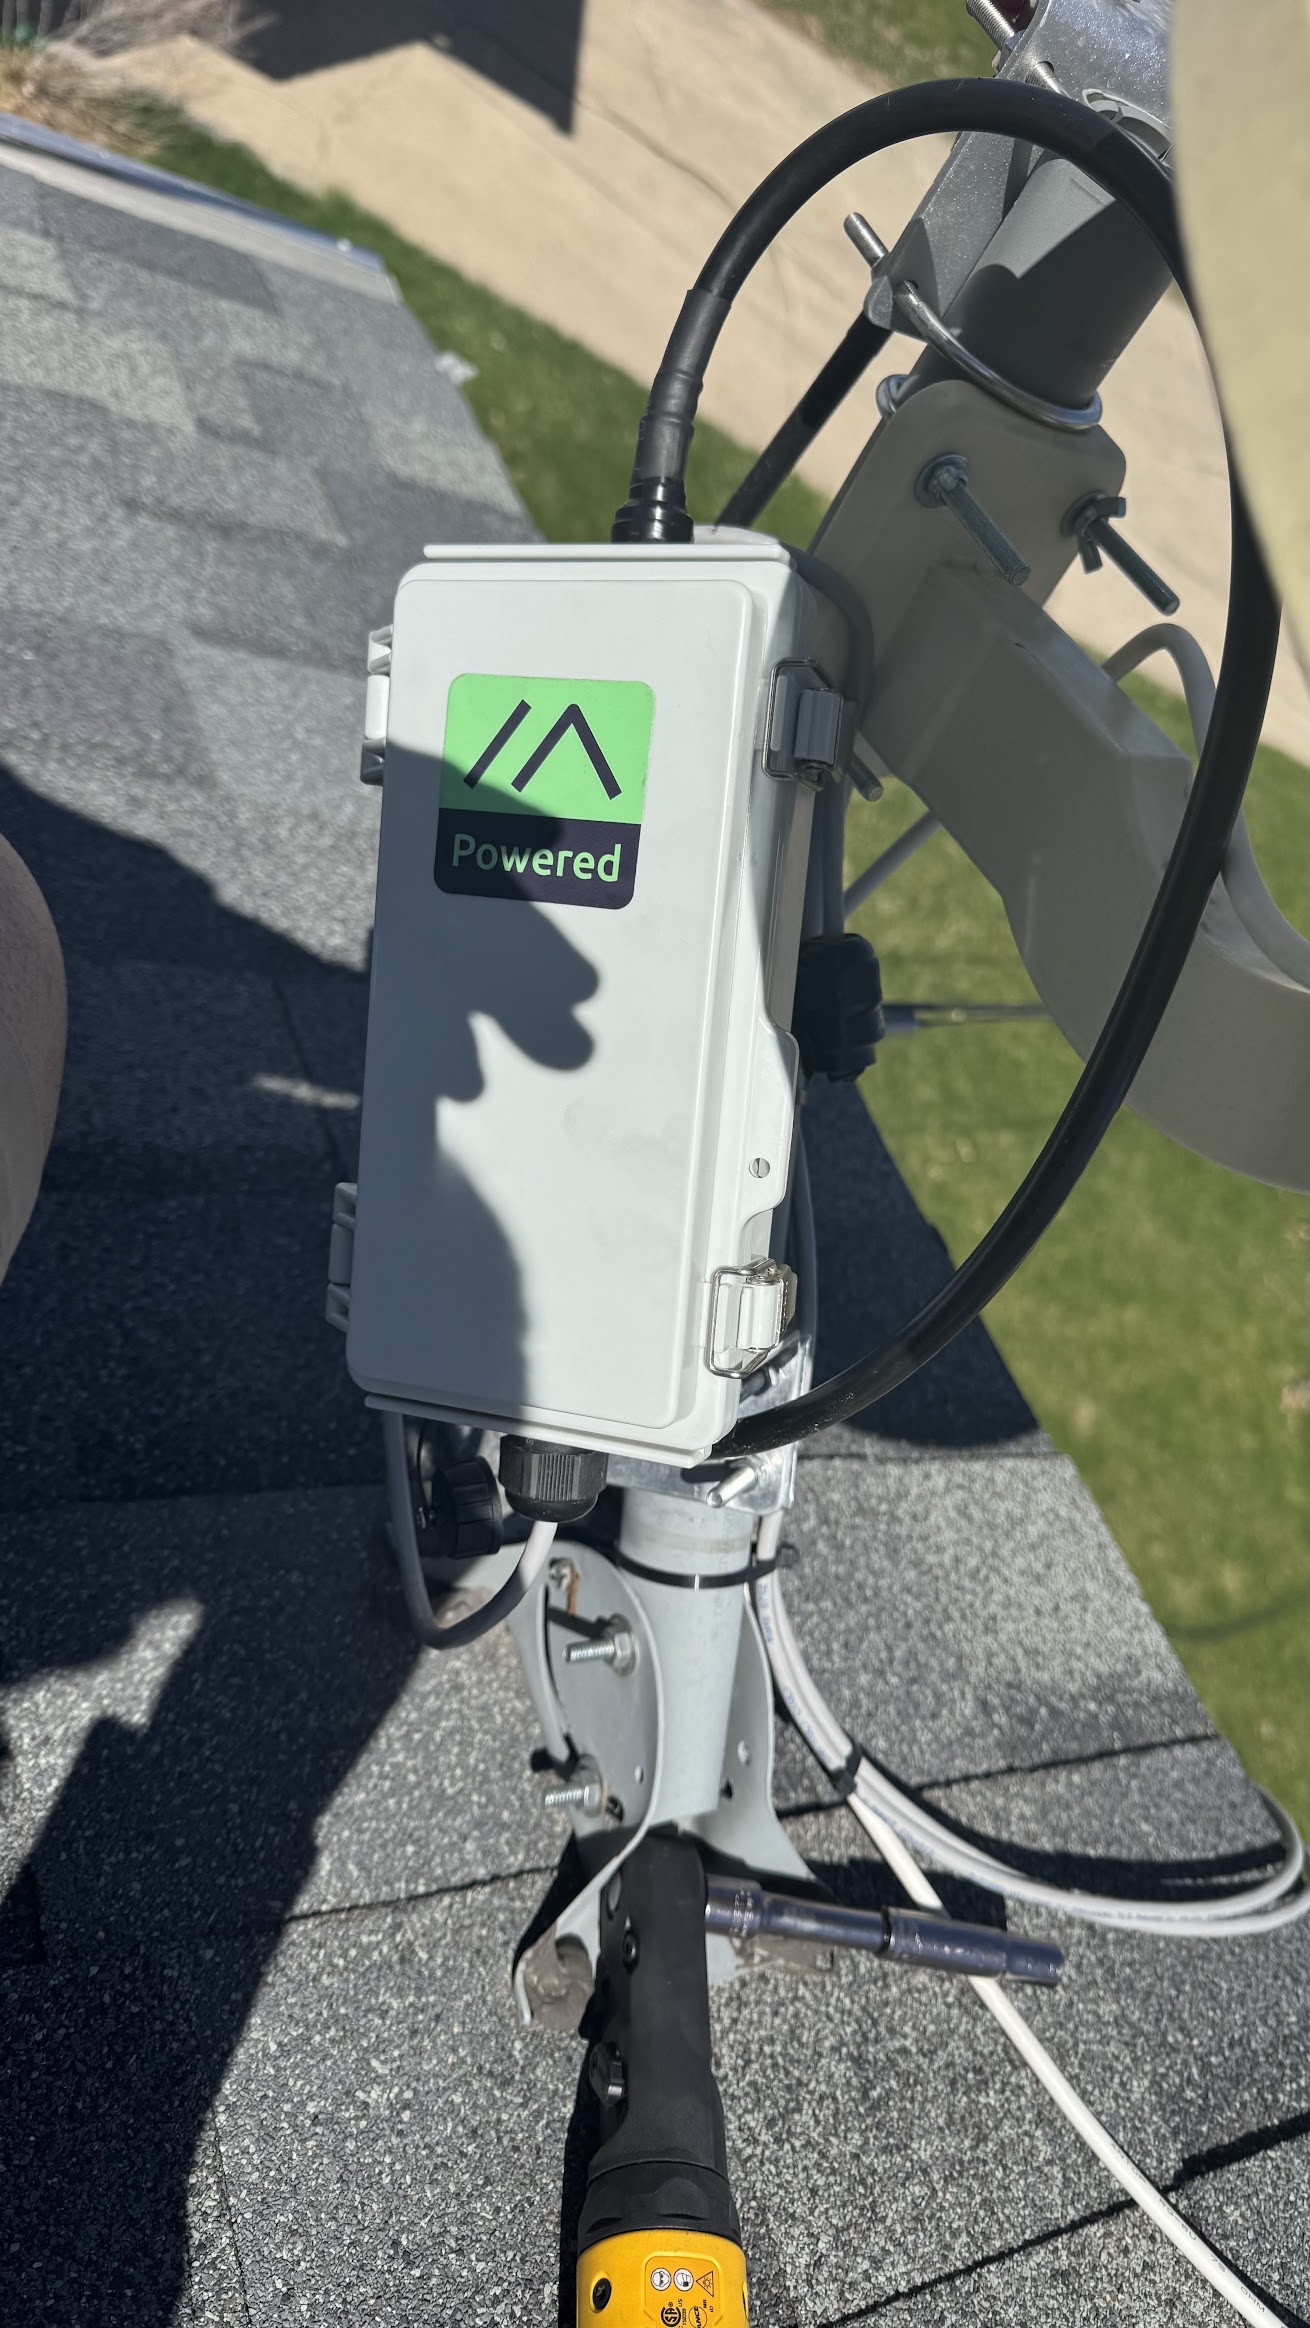
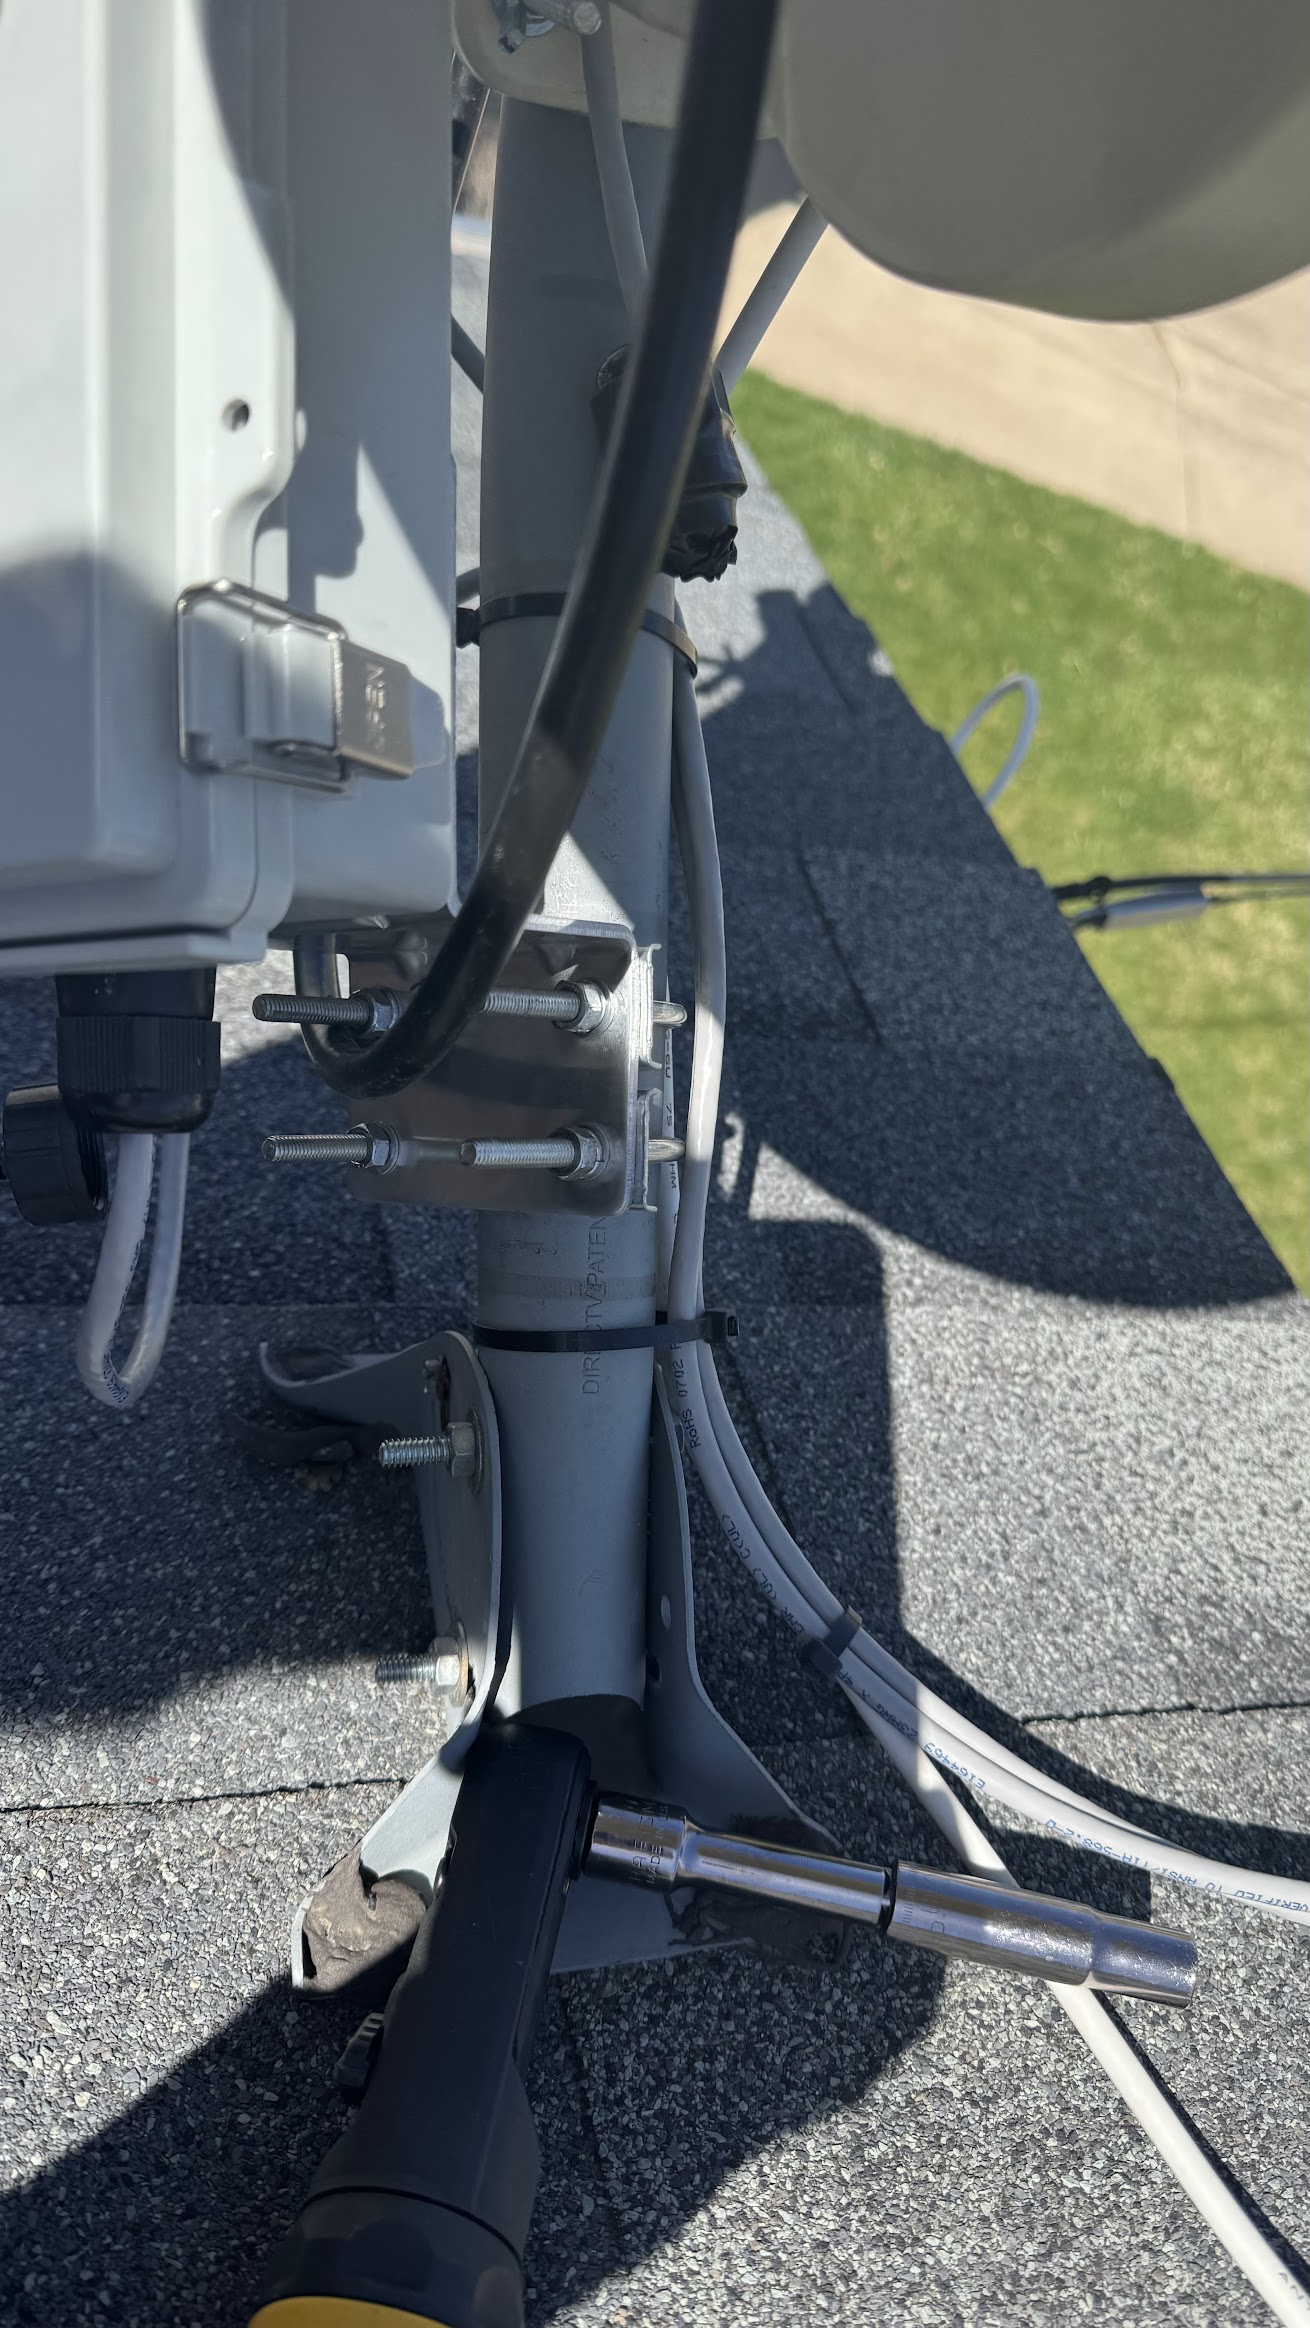
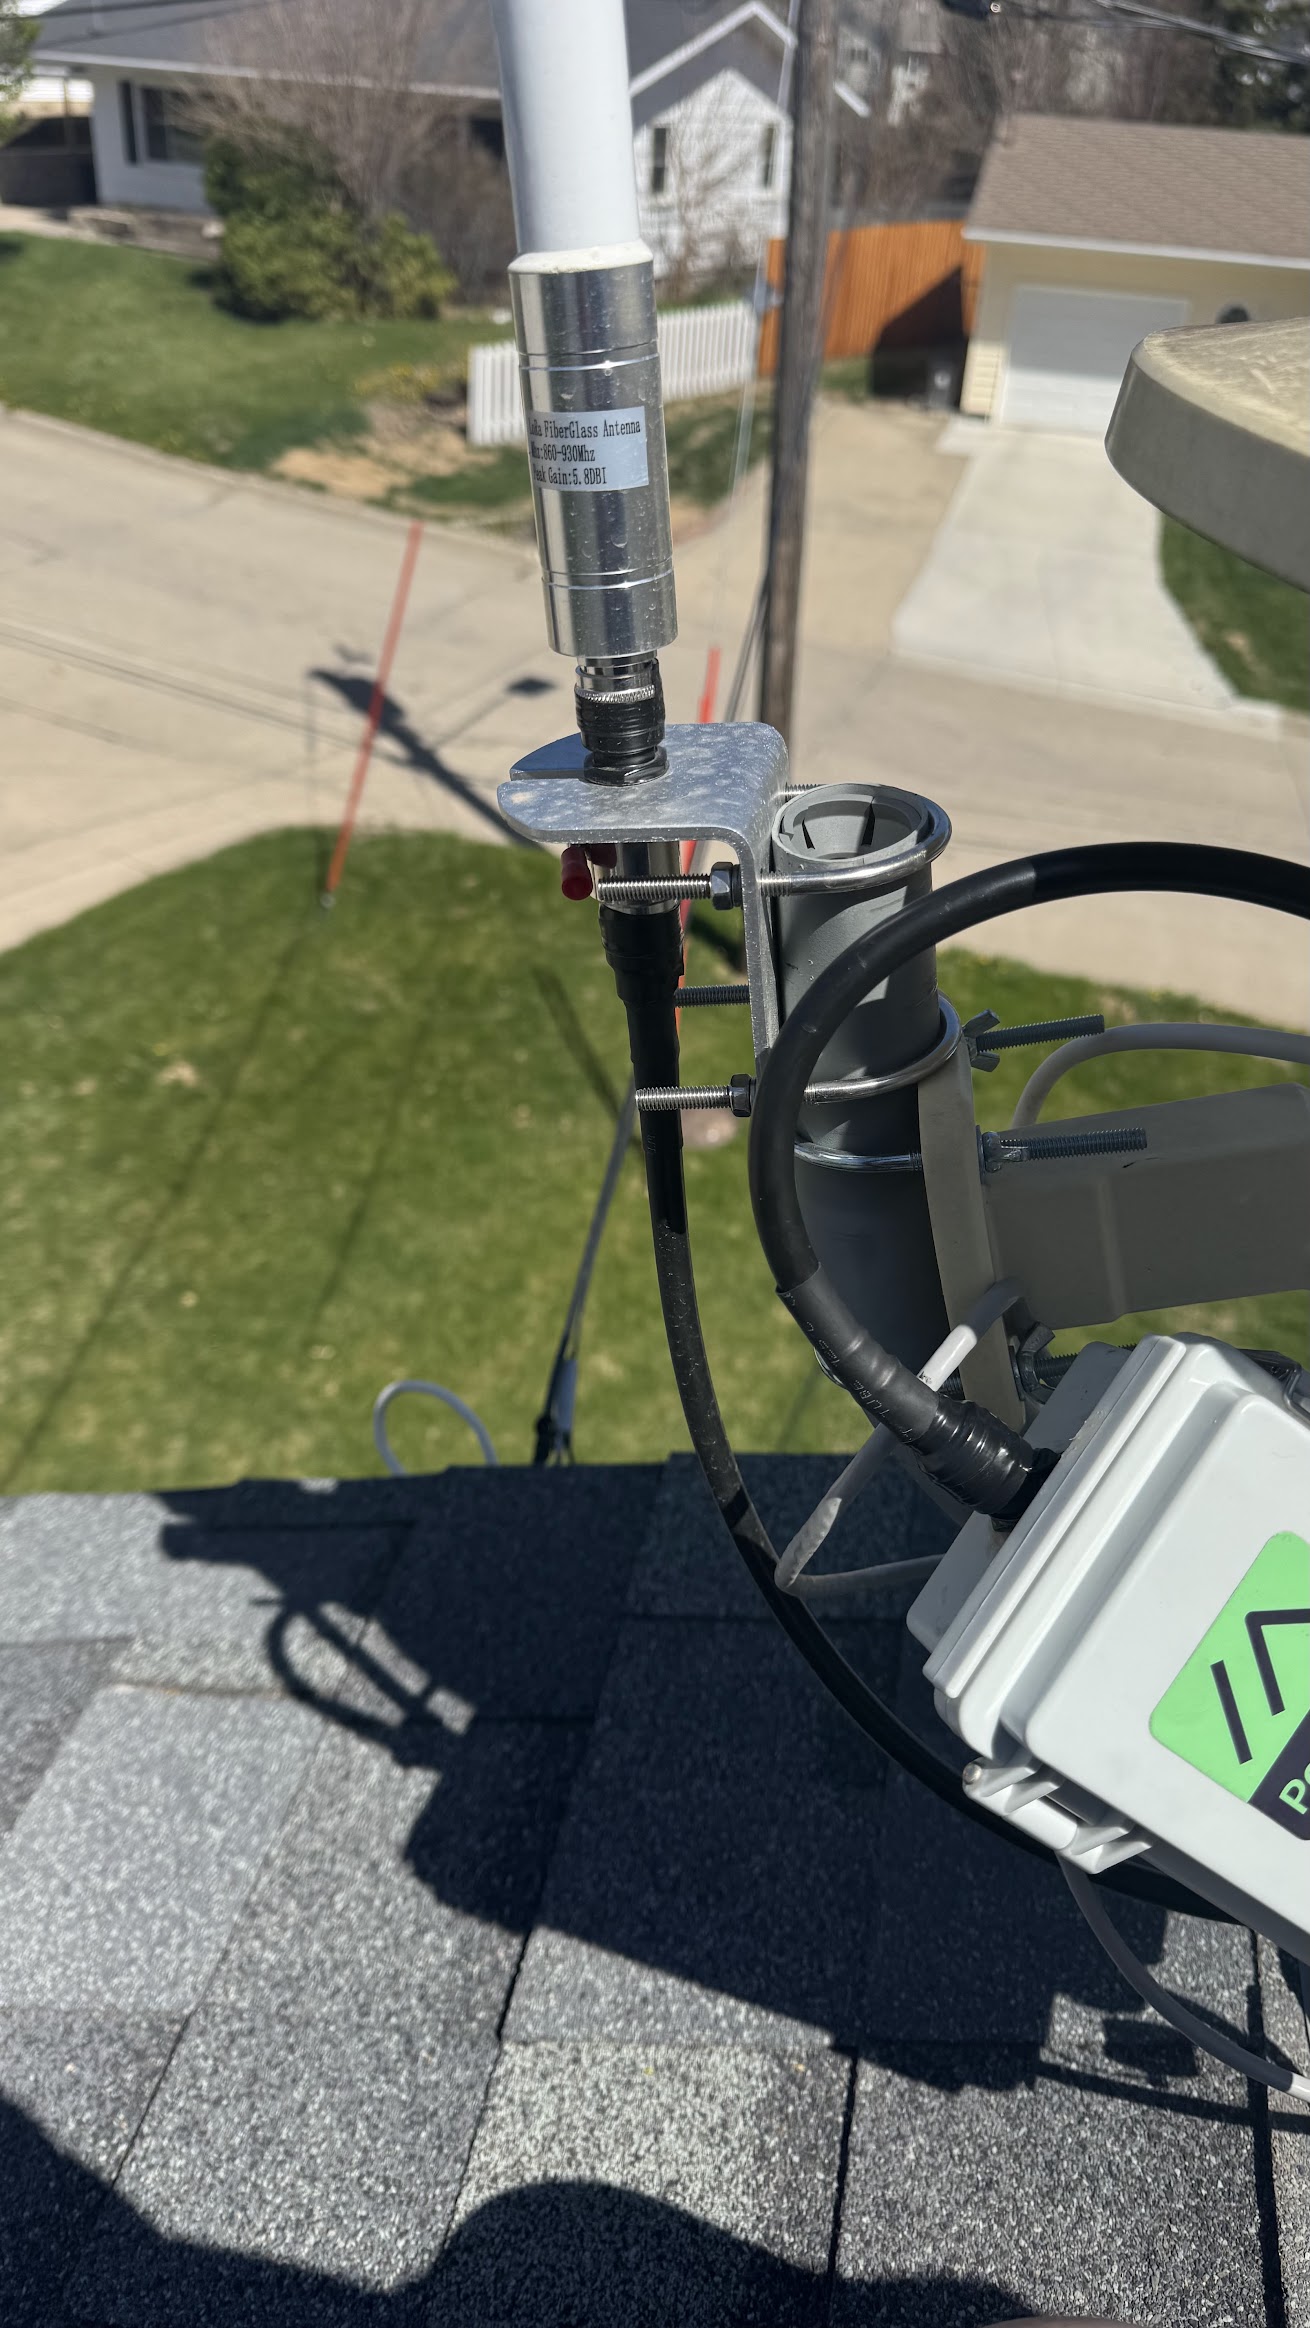
Install the case plate and finish the install and then install up on the roof
Here are the roof photos:
The config is a little different to get started since it’s running on top of a Raspberry Pi.
I chose to do the RaspberryPi OS 12 without the gui (There is no monitor attached so why bother). If you are not familiar with Raspberry Pi Imager here are the steps:
Imaging an SD Card for Raspberry Pi OS 12 (64-bit)
Prerequisites
- Raspberry Pi Imager (Download Here)
- SD Card
- Mac or Windows PC
- Card Reader (if needed)
Steps
1. Install Raspberry Pi Imager
Download and install Raspberry Pi Imager from the official site.
2. Insert the SD Card
Ensure the SD card is properly connected to your system.
3. Select Raspberry Pi OS
- Open Raspberry Pi Imager.
- Click “Choose OS” → Select Raspberry Pi OS 12 (64-bit).
4. Choose Storage
- Click “Choose Storage” → Select your SD card.
5. Optional: Configure Settings
- Click the ⚙️ settings icon to:
- Enable SSH
- Set Wi-Fi credentials
- Configure hostname, etc.
6. Flash the Image
Click “Write” and confirm. This erases and writes the OS to the SD card.
7. Eject & Insert into Raspberry Pi
Once done, remove the SD card and insert it into your Raspberry Pi.
Once logged into your Raspberry Pi OS, Run the latest round of updates (just because it’s what any good system owner would do) and then add the repositories to be able to install meshtasticd:
echo 'deb http://download.opensuse.org/repositories/network:/Meshtastic:/beta/Raspbian_12/ /' | sudo tee /etc/apt/sources.list.d/network:Meshtastic:beta.list

curl -fsSL https://download.opensuse.org/repositories/network:Meshtastic:beta/Raspbian_12/Release.key | gpg --dearmor | sudo tee /etc/apt/trusted.gpg.d/network_Meshtastic_beta.gpg > /dev/null

sudo apt update

sudo apt install meshtasticd
When I followed the offical guide on Meshtastics website the service would never stay running. I ended up having to add the config manually from the devleopers github repo. My config looks like this:
Lora:
  Module: sx1262
  CS: 21
  IRQ: 16
  Busy: 20
  Reset: 18
  TXen: 13
  RXen: 12
  DIO3_TCXO_VOLTAGE: true

I2C:
  I2CDevice: /dev/i2c-1

Logging:
  LogLevel: info # debug, info, warn, error

Webserver:
  Port: 443 # Port for Webserver & Webservices
  RootPath: /usr/share/meshtasticd/web # Root Dir of WebServer
Next Start the meshtasticd service and make sure everything works:
sudo systemctl status meshtasticd

sudo systemctl status meshtasticd
Look for errors in the log and fix as appropiate:
journalctl -u meshtasticd -e
The rest of the setup will be done by the WebUI.
This build was certainly an adventure! While it’s not a setup for everyone, those looking to tackle more advanced projects may find it a worthy challenge.